
![]()
Welcome to the last Photoshop tutorial for the year!
I know there haven’t been too many this year, but that’s for two very good reasons! 1) I’ve expanded the website to include different things, and thus am trying to be fair in my cycling through of each interest, and b) I’ve been busy and need time to learn more effects to show you!
At the time of writing (20.11.17), I’m almost out of effects to share, and haven’t had time to learn more. I mean, it’s 2020, can you really blame me for not having time? But, don’t worry! I’ve got a pretty good handle on scheduling (yes, I had scheduled all of 2021 back in 2020), and I’m not writing a book (or should I say ‘haven’t been’? … This is the part of writing posts in the future that gets confusing!) this year, so I should have plenty of time to teach myself some new effects.
So for now, you can go digging through the old tutorials, and practice this effect while you wait for new ones. Also, if you aren’t already, keep an eye on my Twitter, where I’ll share updates on what’s happening, so you can stay in the loop.
Okay, I think that’s enough rambling, now onto the effect!
This effect, like many others, probably looks complicated, but isn’t really, it’s more time consuming than anything else. (But we’ll get to why in a bit)
Step 1.
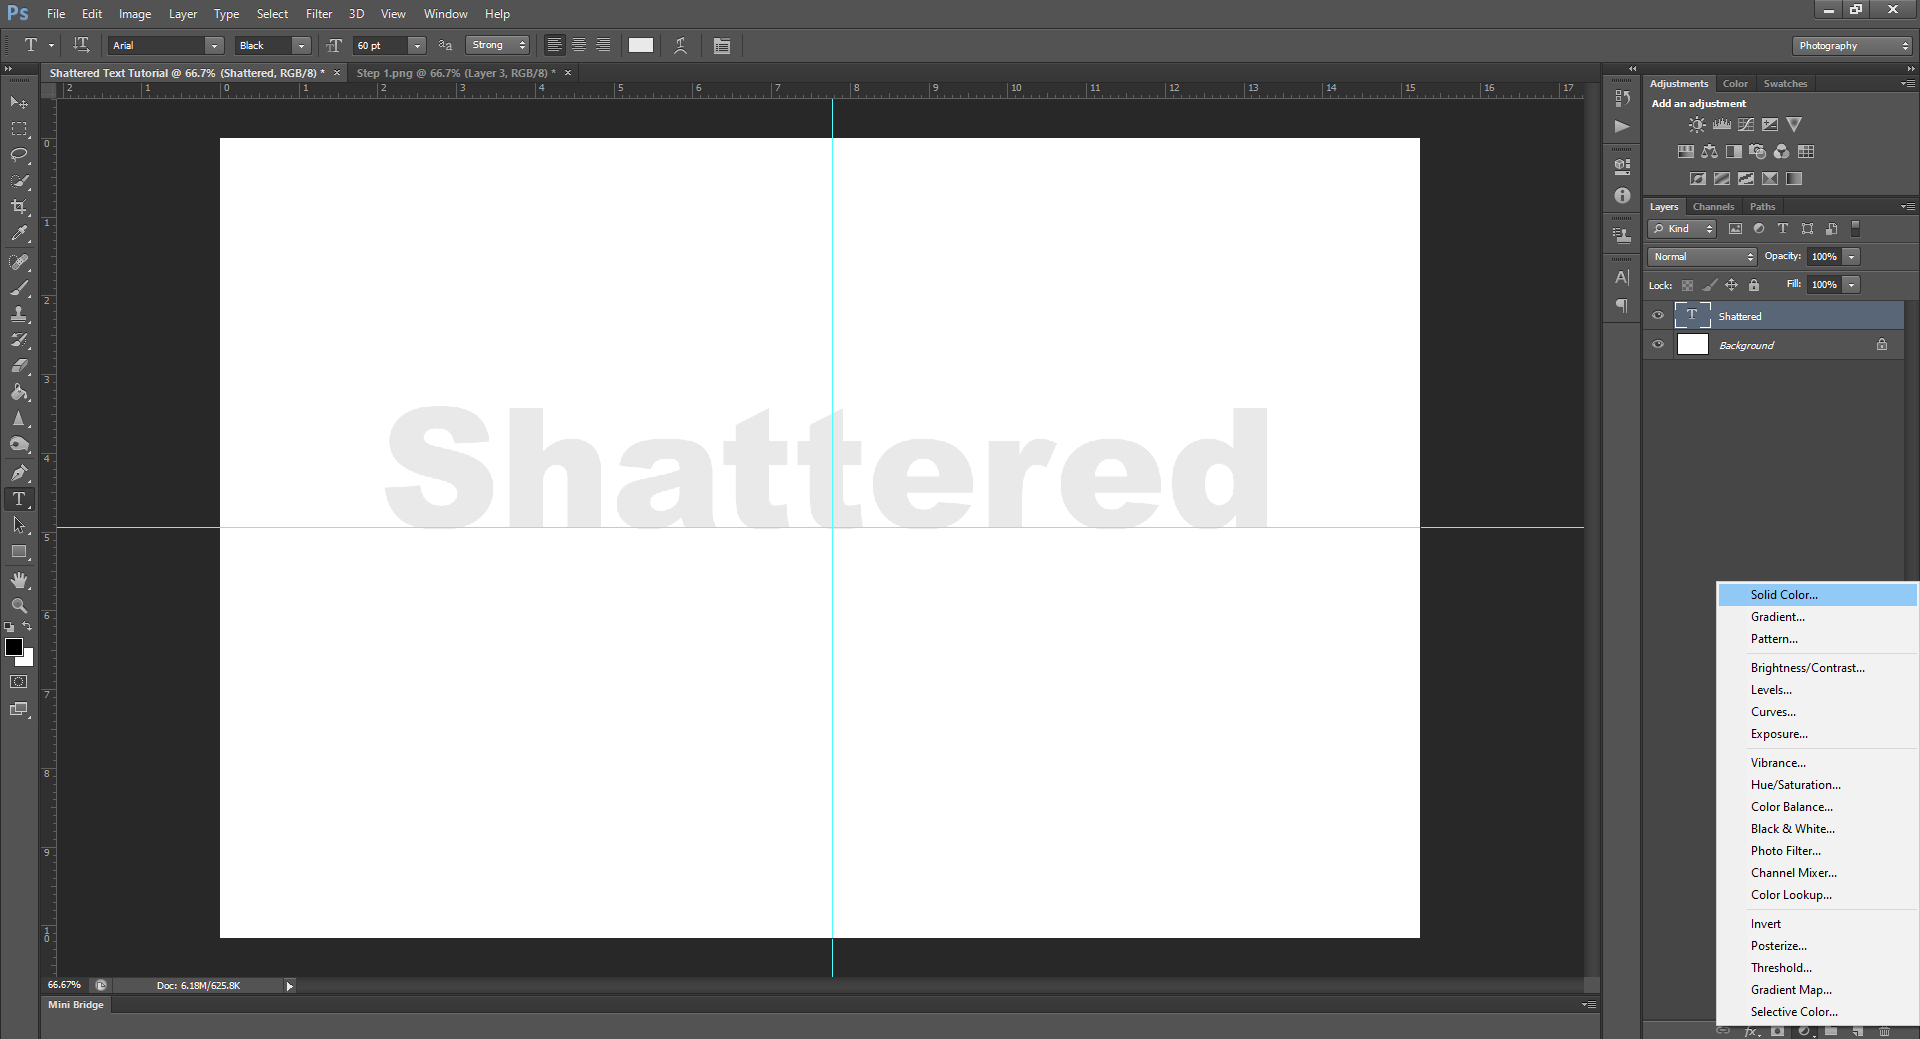
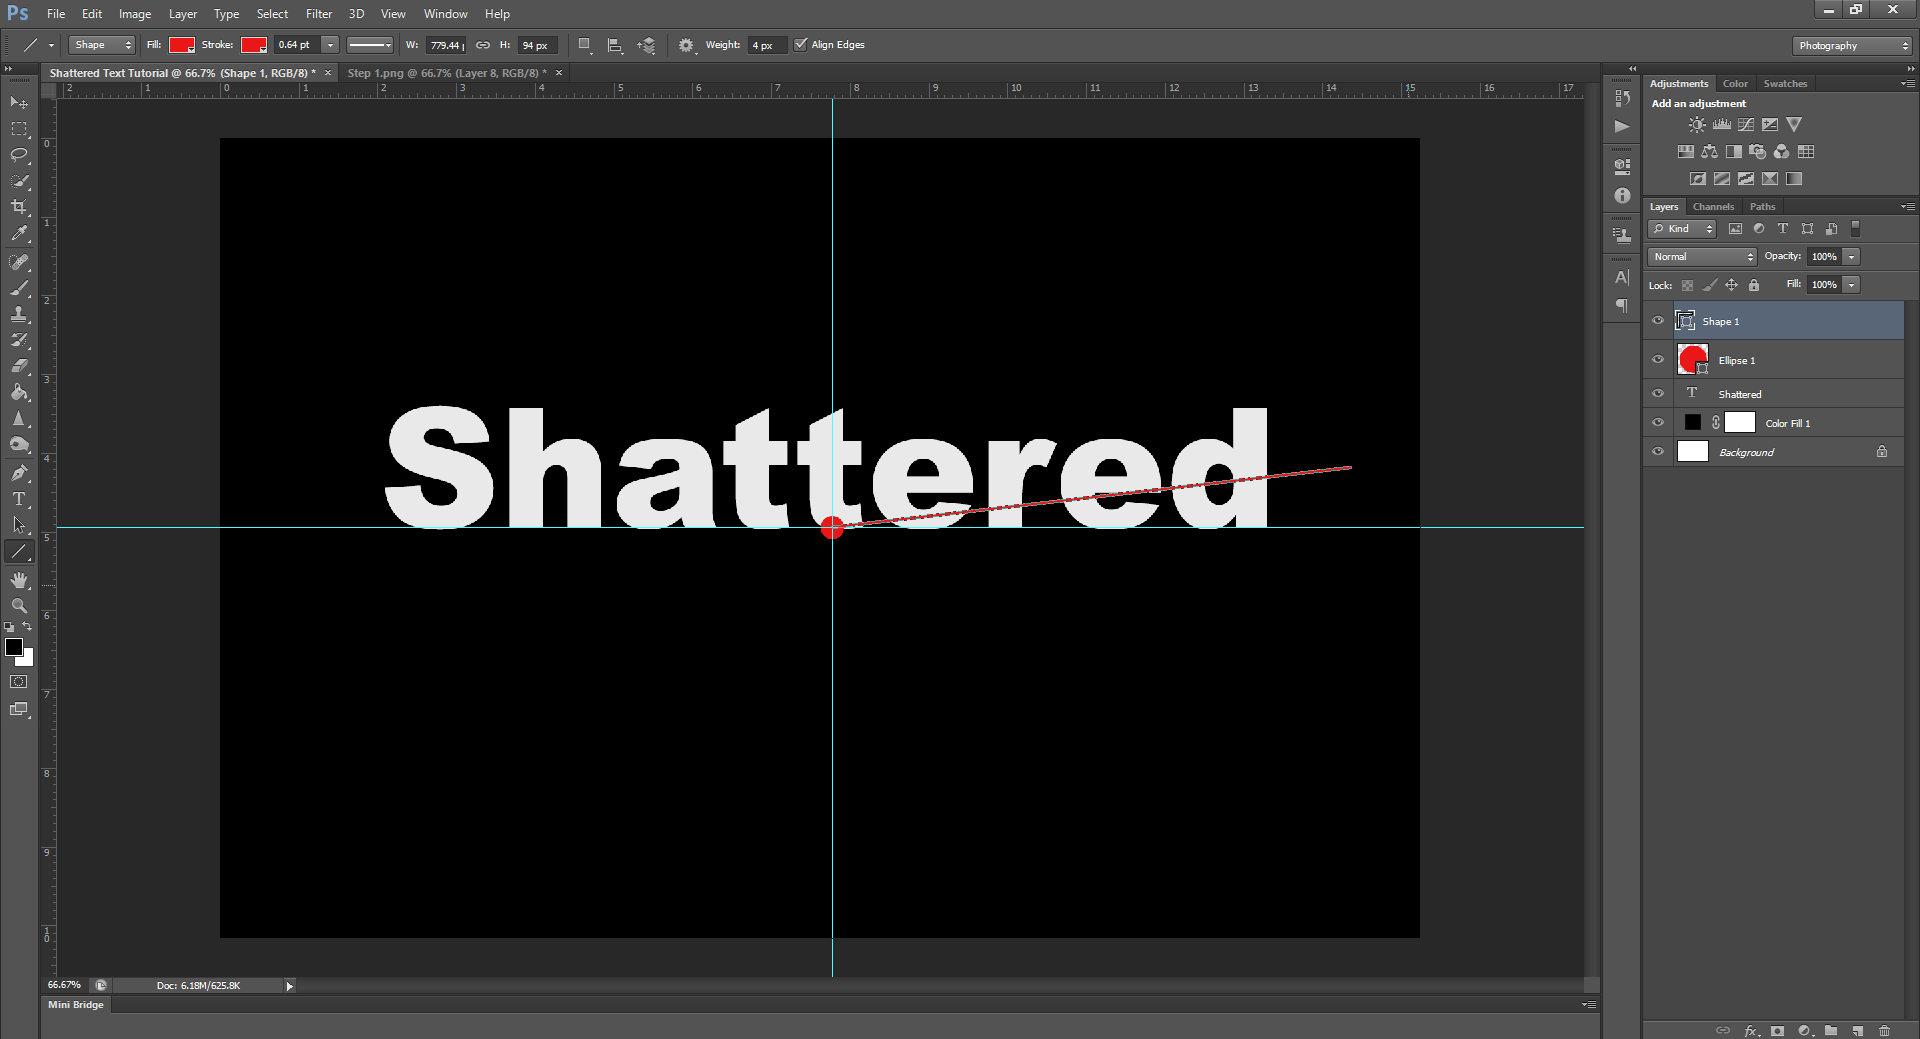
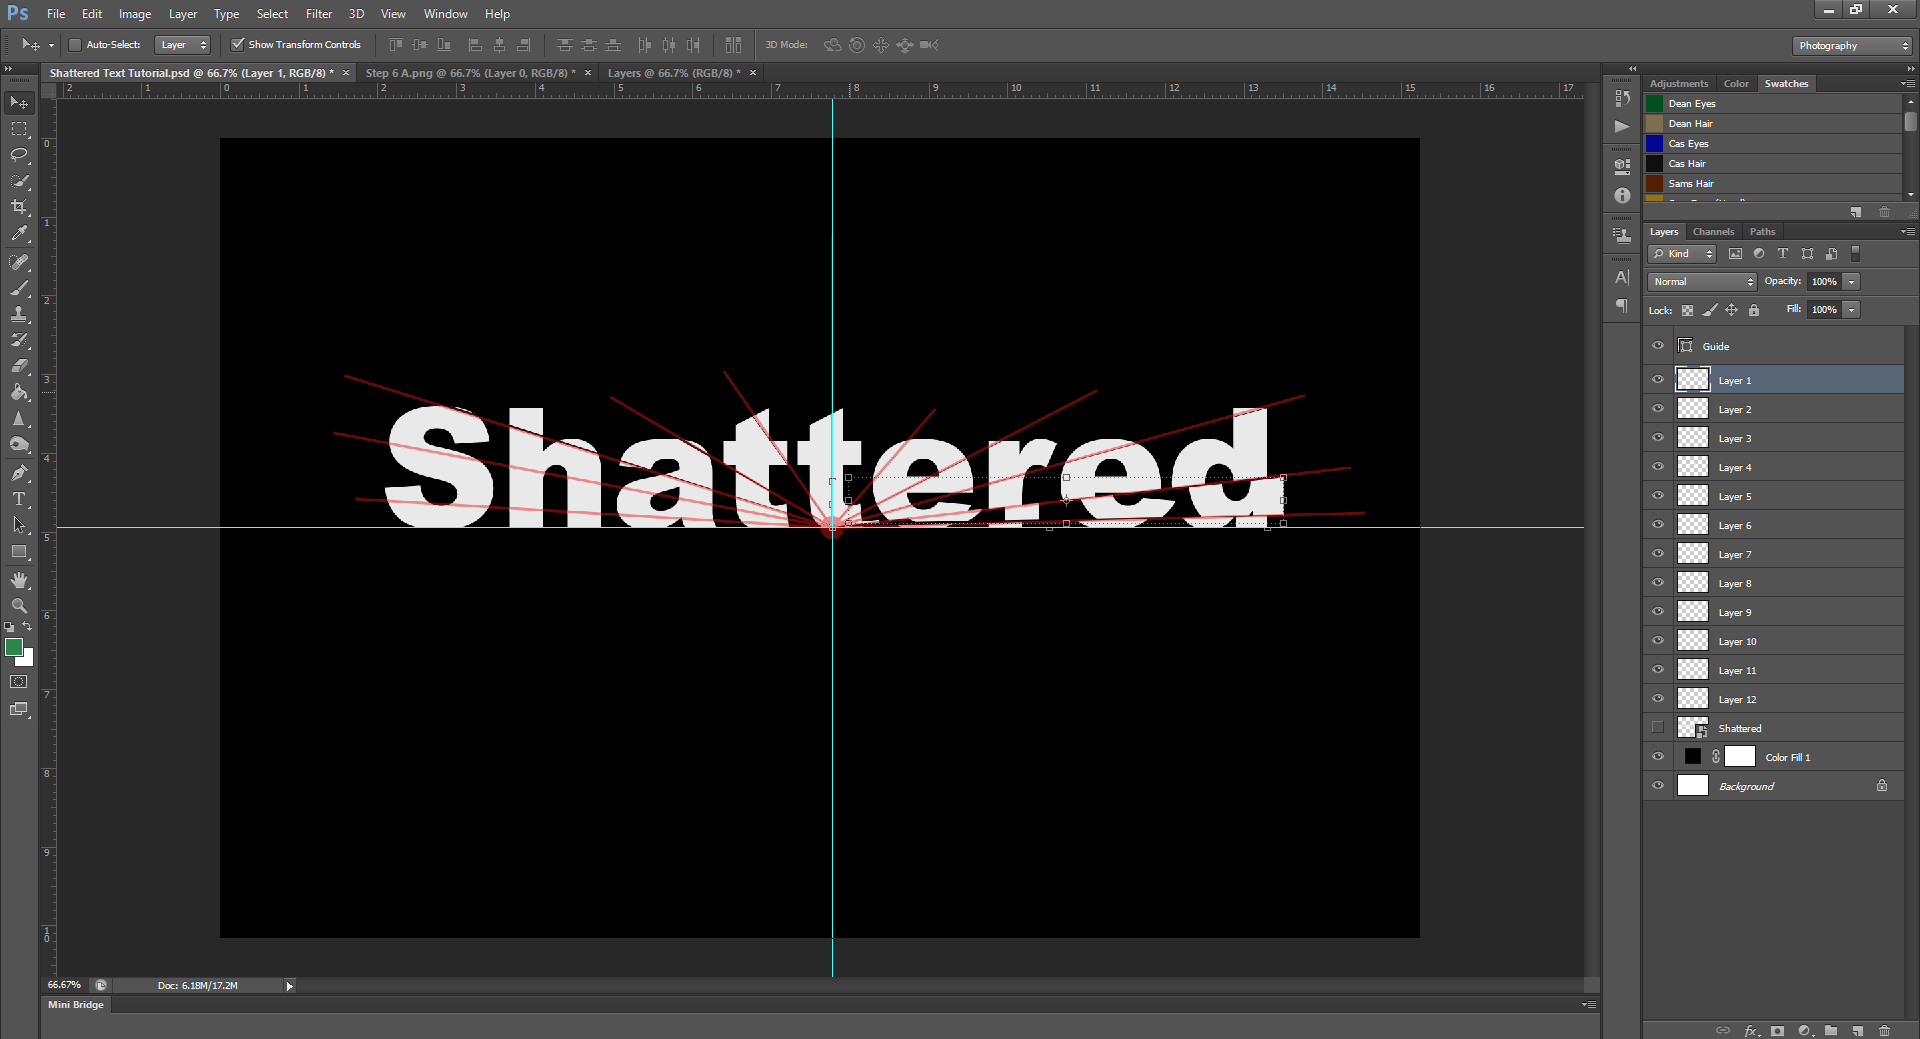
On a new project/document/file (I swear one day I’ll learn what it’s called!), type whatever text you want to shatter. For the purposes of simplicity, I’ll just use the word Shattered.
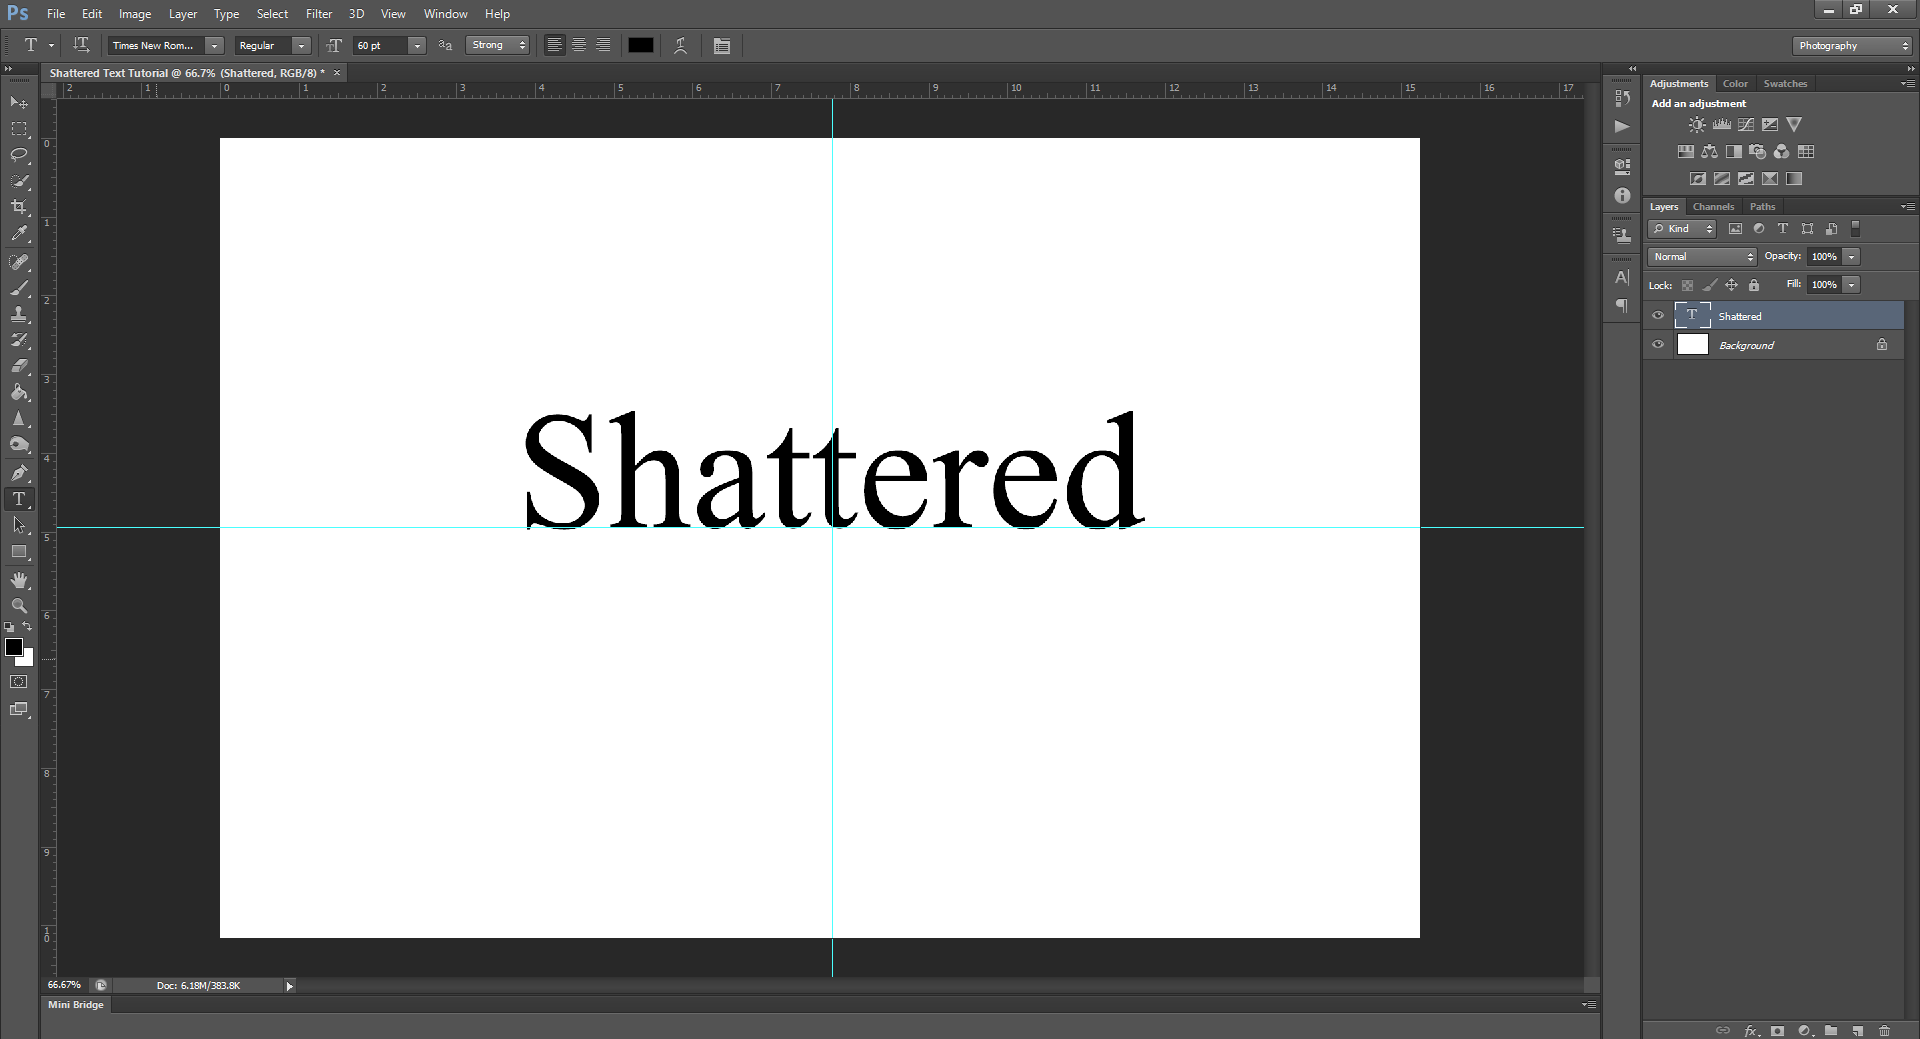
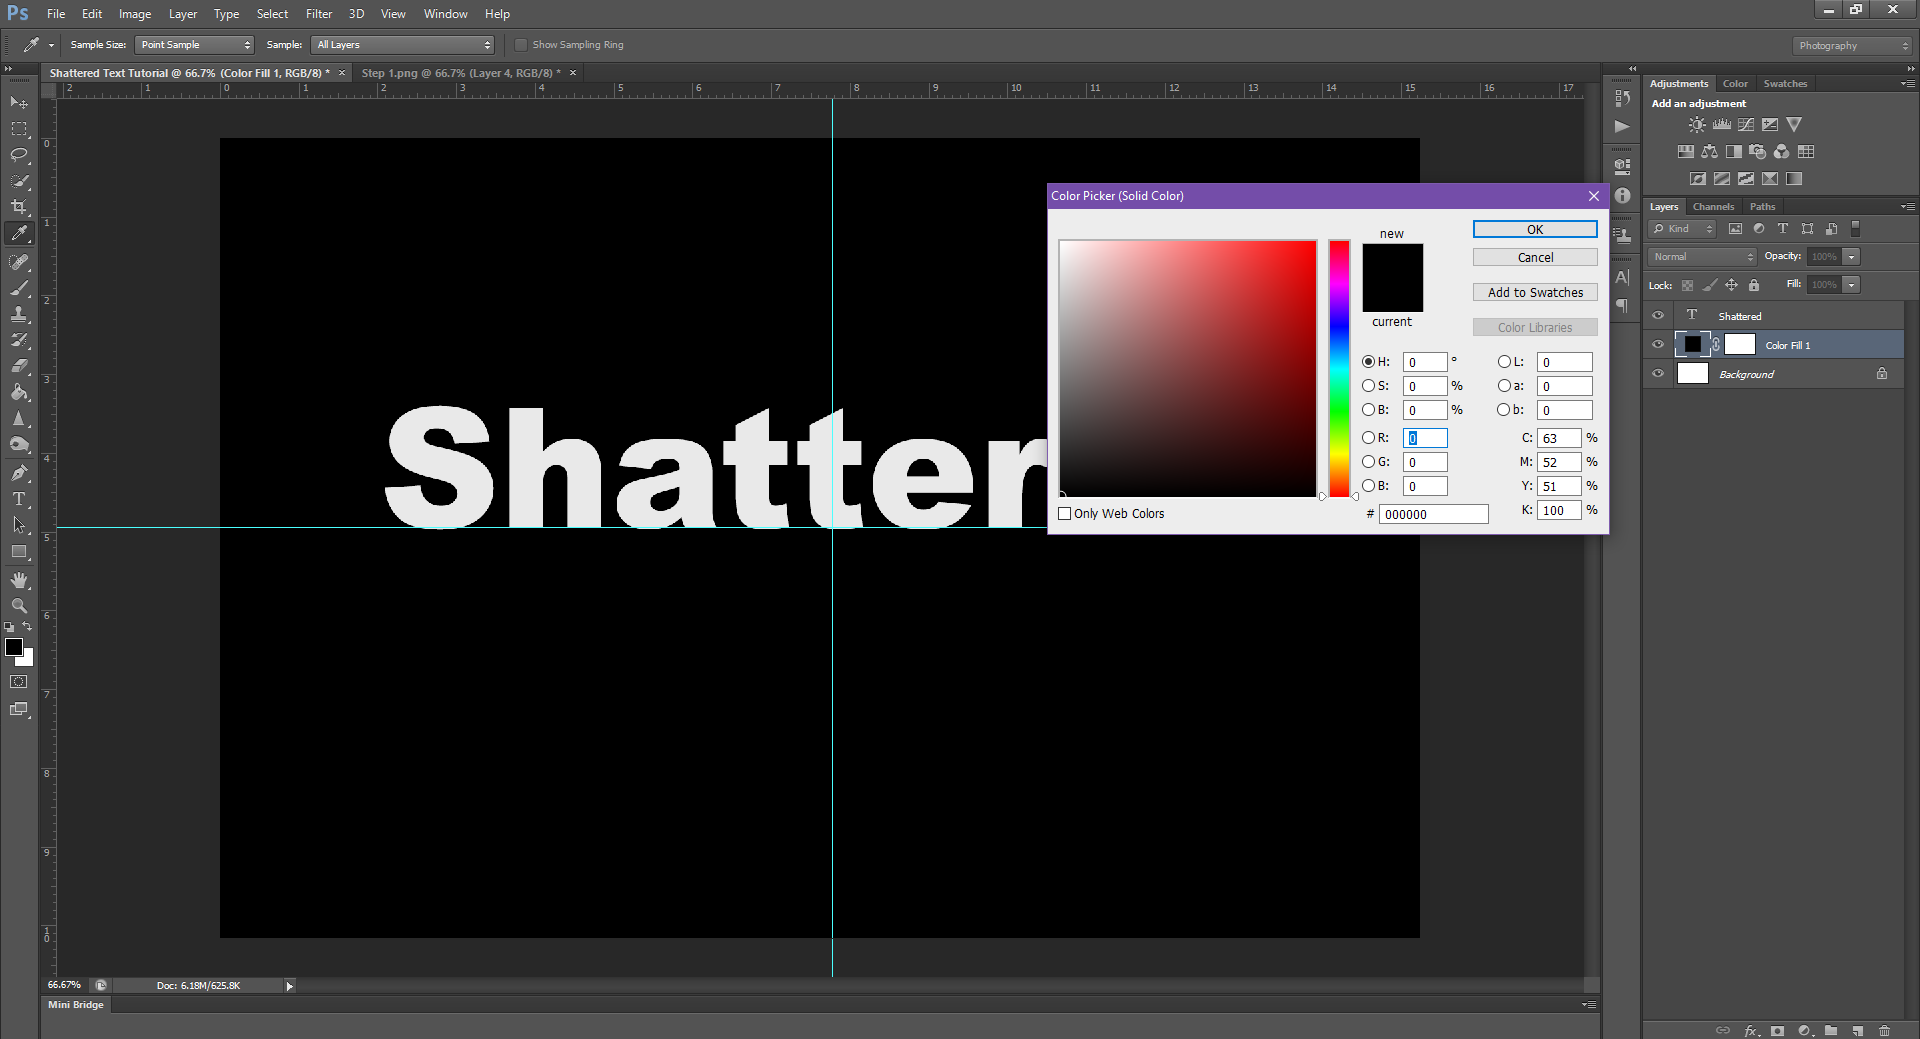
You can do this effect on any font/colour, but if you want it to really look good, I suggest using a thick font, like Arial, and to change the word colour to white/off white. (So it looks more like glass) Then, change the background colour from white to black. I’ve also centered the text, but again, this is optional. It all depends on what you want the final product to look like.
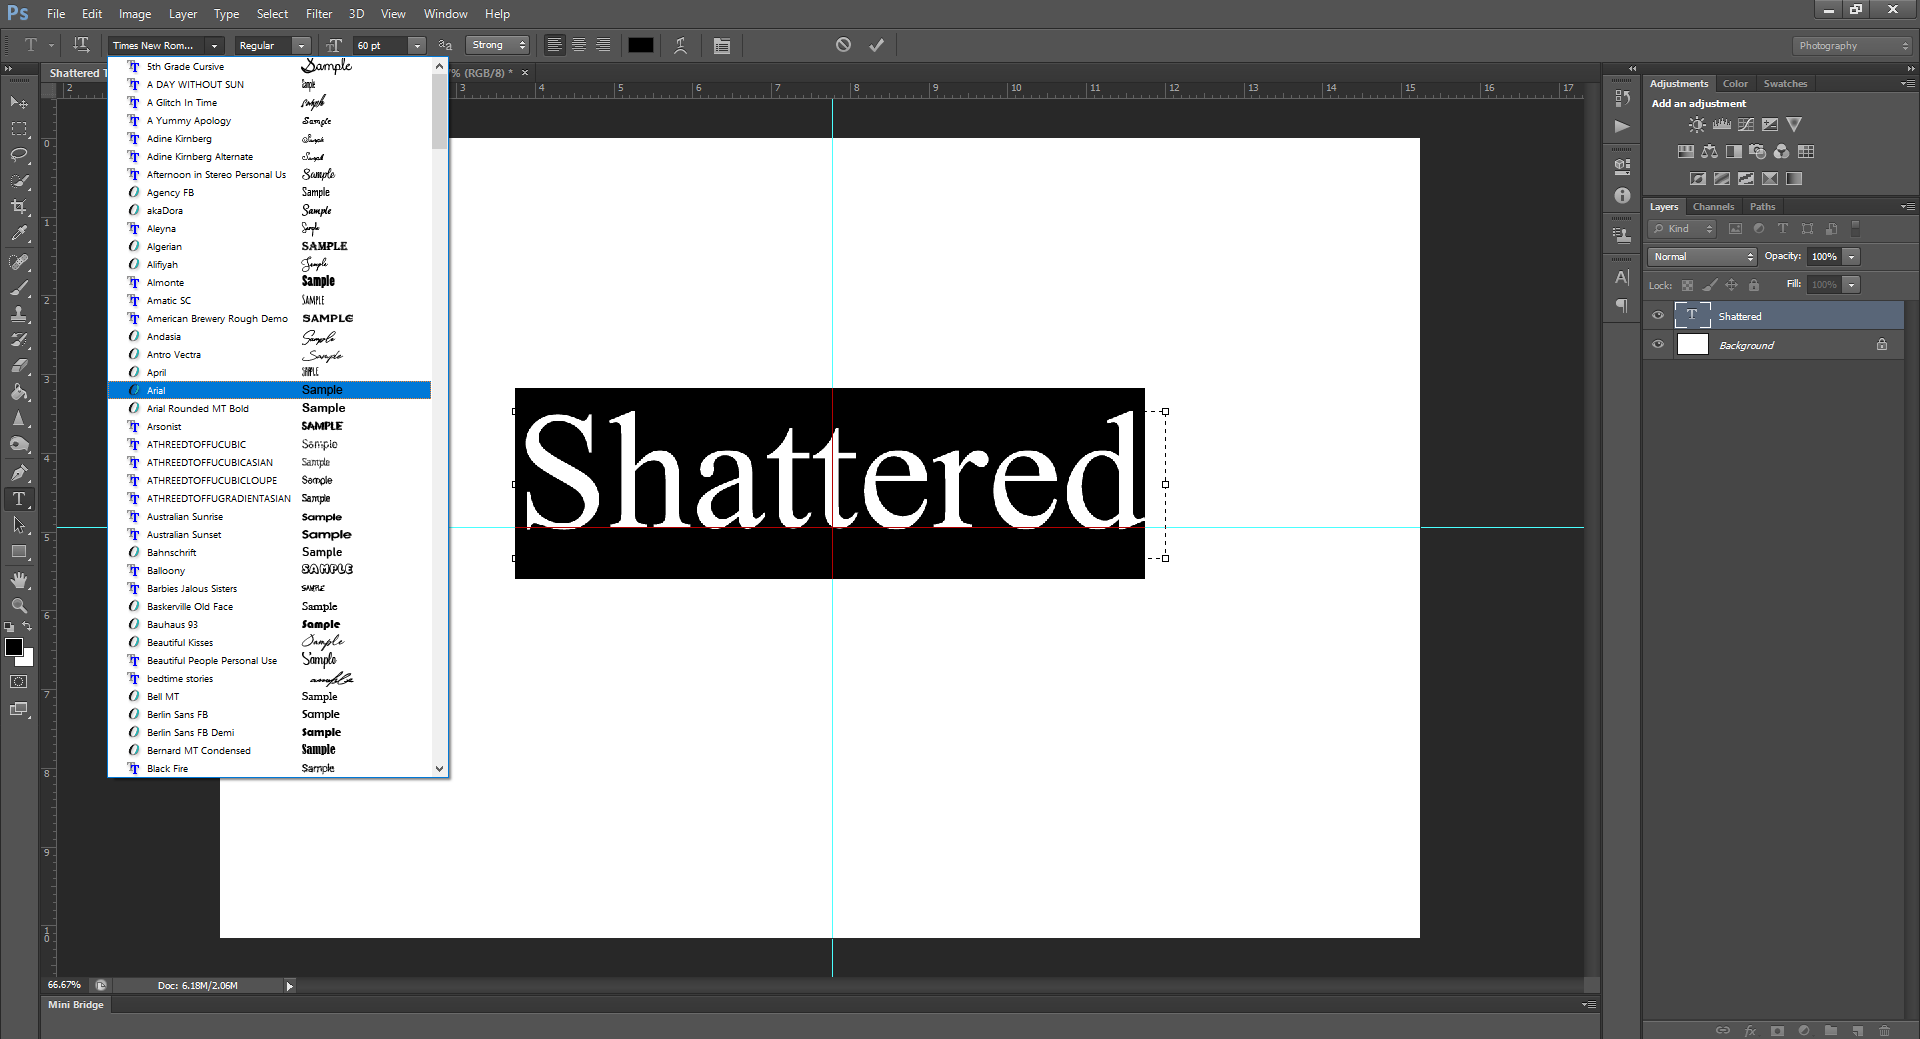

After changing the font, to make it extra thick (so we have more room to work with the effect), you can also change the Font Style so the text looks even thicker. I picked Black, but the Bold, or even a different really thick font should work.
Step 2.
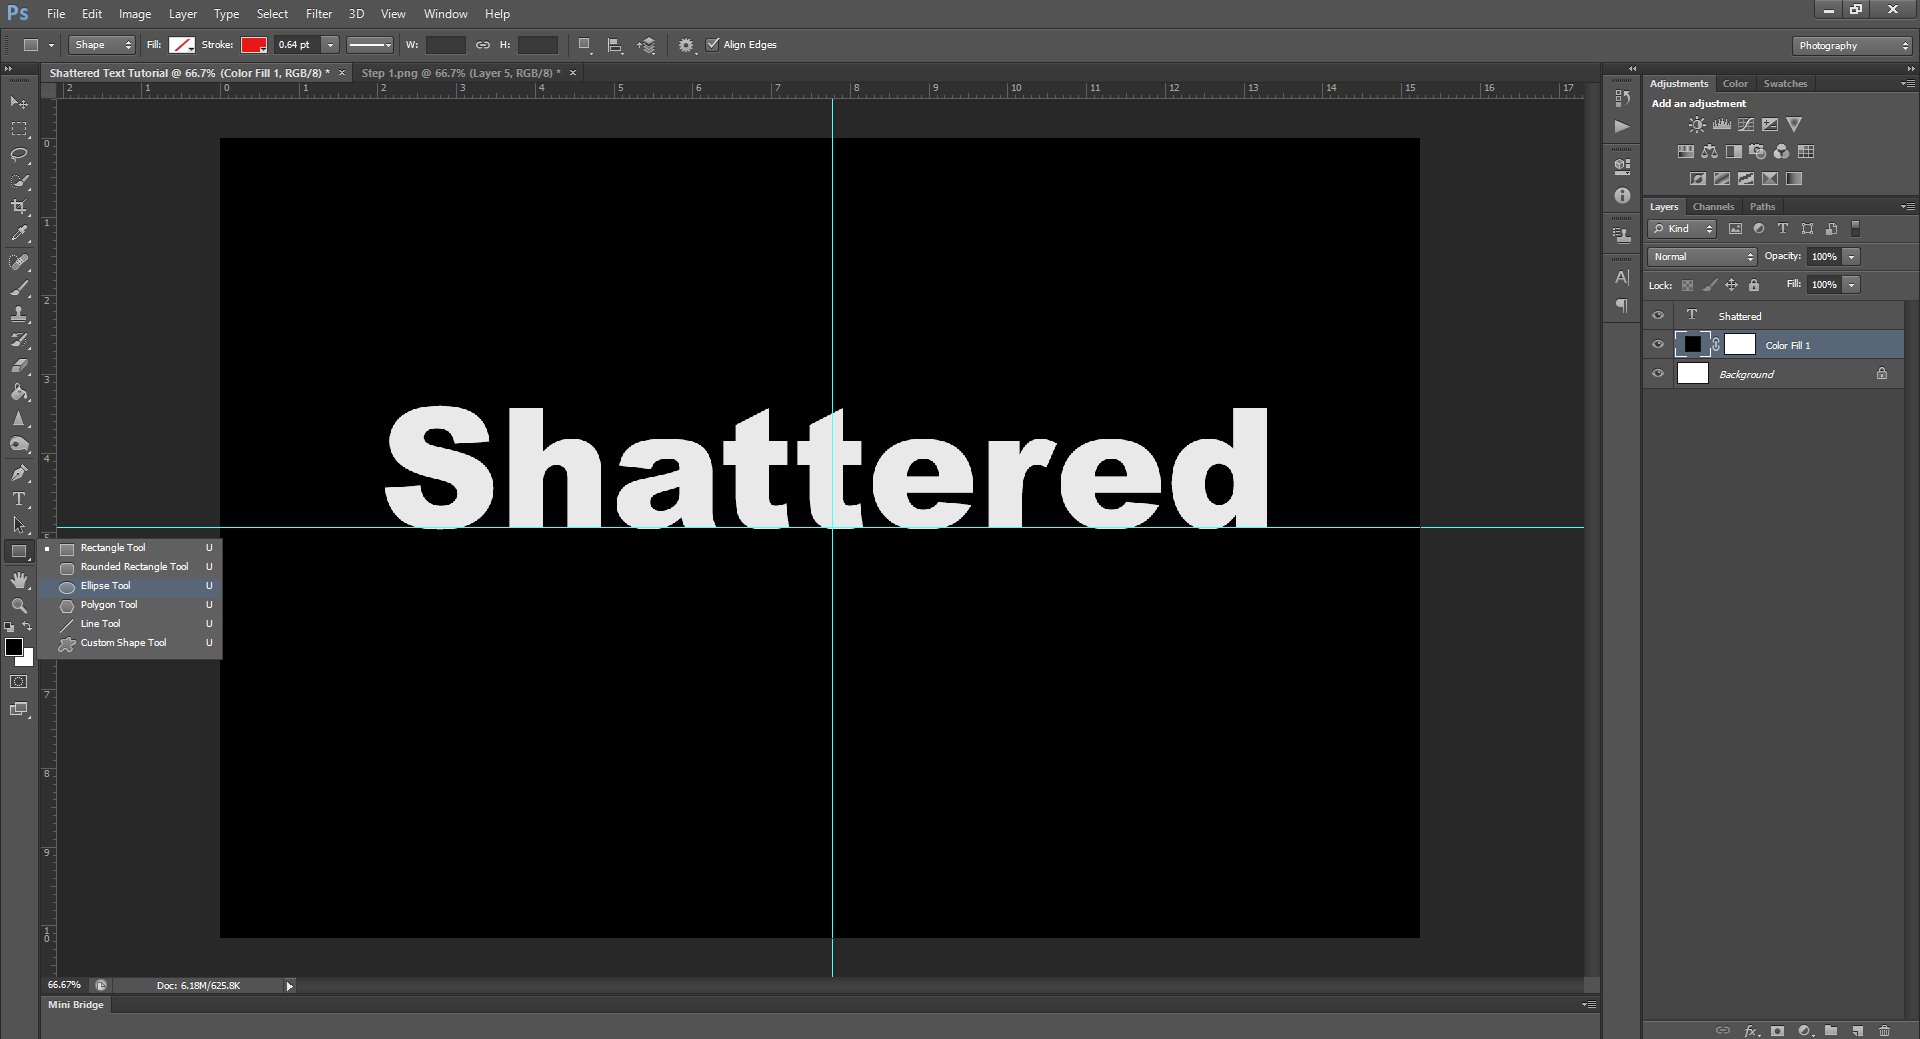
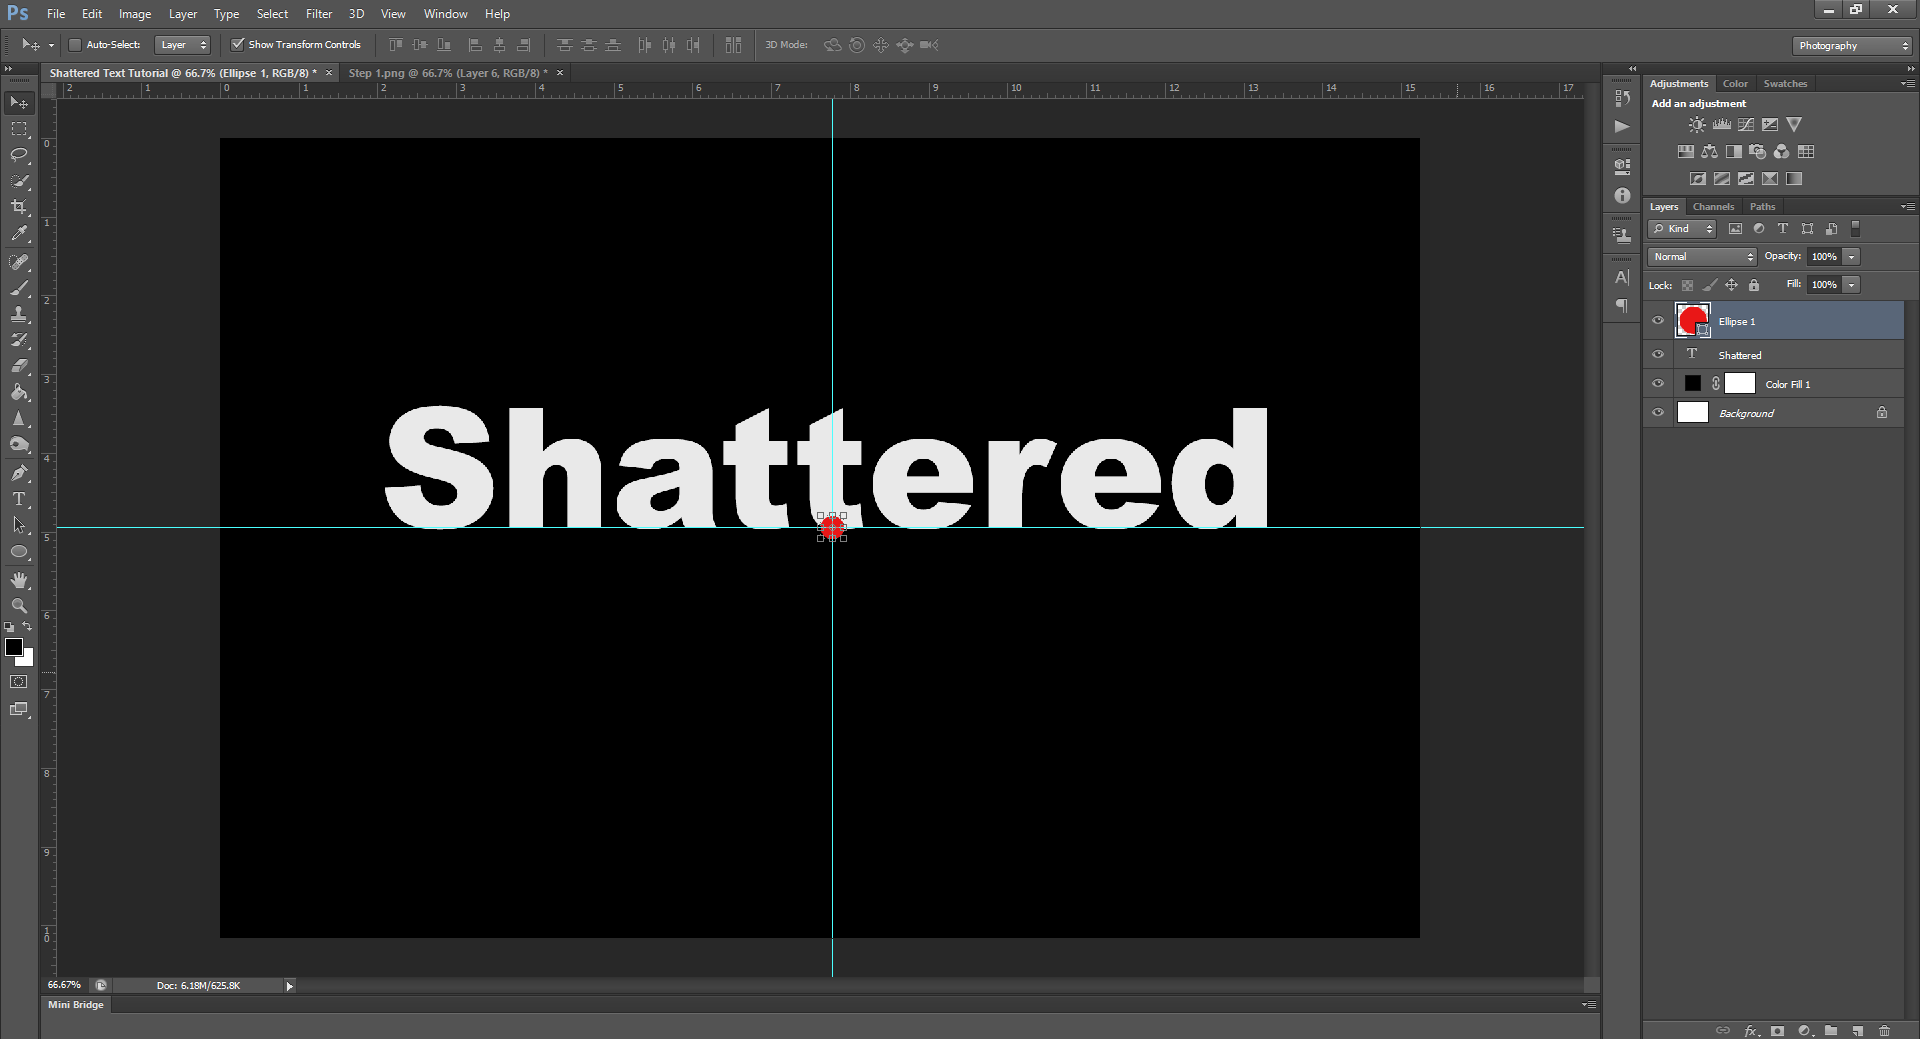
See how much better that’s already looking? Now, I want you to pick a center point on your word, and, using the Ellipse Tool, draw a small circle at the point. This will be used as the impact point, and will serve as the central part for when we begin to shatter the pieces. To keep things simple, I’ll use the bottom of the middle letter.
Step 3.
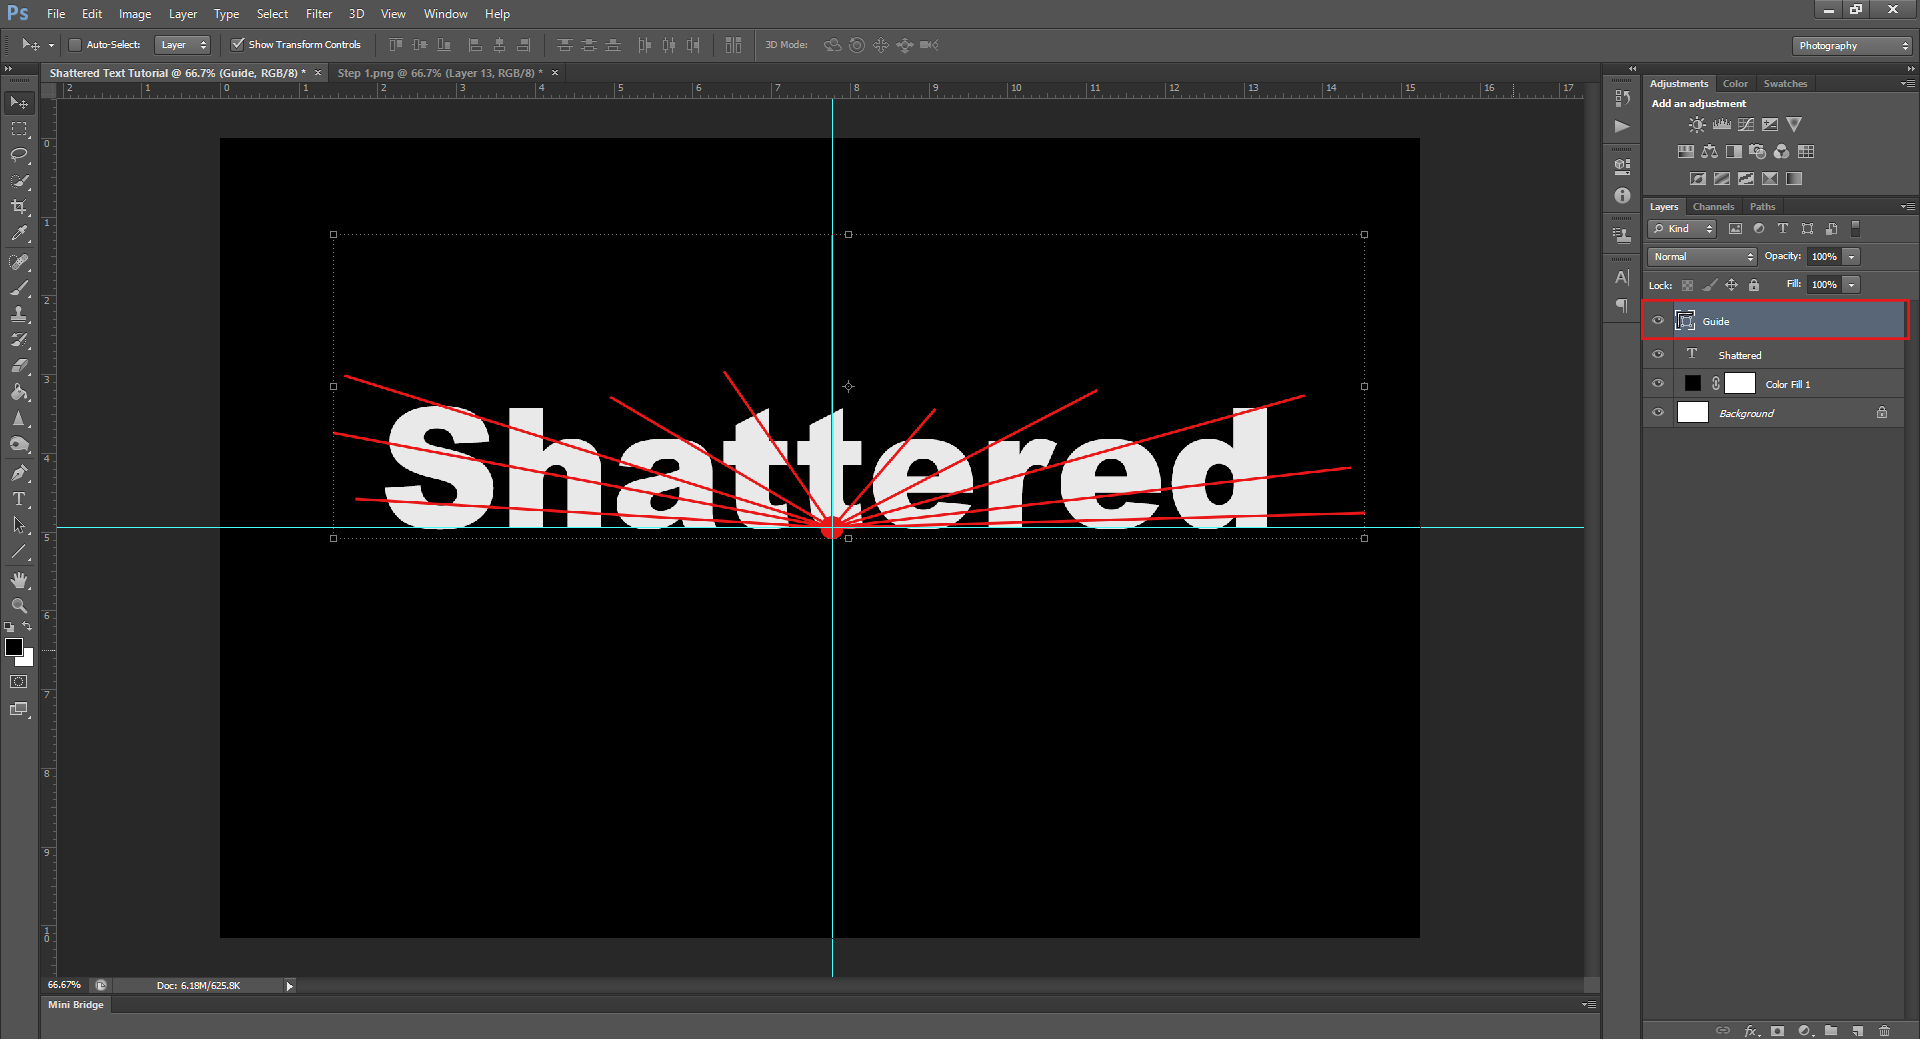
Now, using the same tool, switch to the Line Tool, and draw straight lines radiating out from the circle, to begin dividing the word into pieces.
Keep going until you’ve fractioned off the whole word. Hint: Holding down SHIFT while drawing the lines will keep them totally straight.

Step 4.
Now to make things easier, select all the lines and circle you just made (either hold CTRL and click on each layer in the Layers Panel, or press and hold SHIFT and click on the first and last shape layers), then right-click and select Merge Shapes from the menu. This will collapse the guide we just made into 1 layer.

Once collapsed, feel free to re-name it Guide or something similar, so you know what it is. To rename a Layer, double click on the Layer Name (the word beside the thumbnail picture) and type whatever you want to name the layer, then hit Enter to make the change.
Step 5.
Now to actually make the shards. First, right click on the Type layer, then select Rasterize Type. This will make the text no longer editable with the Type tool, but will allow us to cut and crop it as if it’s an image. (Which is what we need)
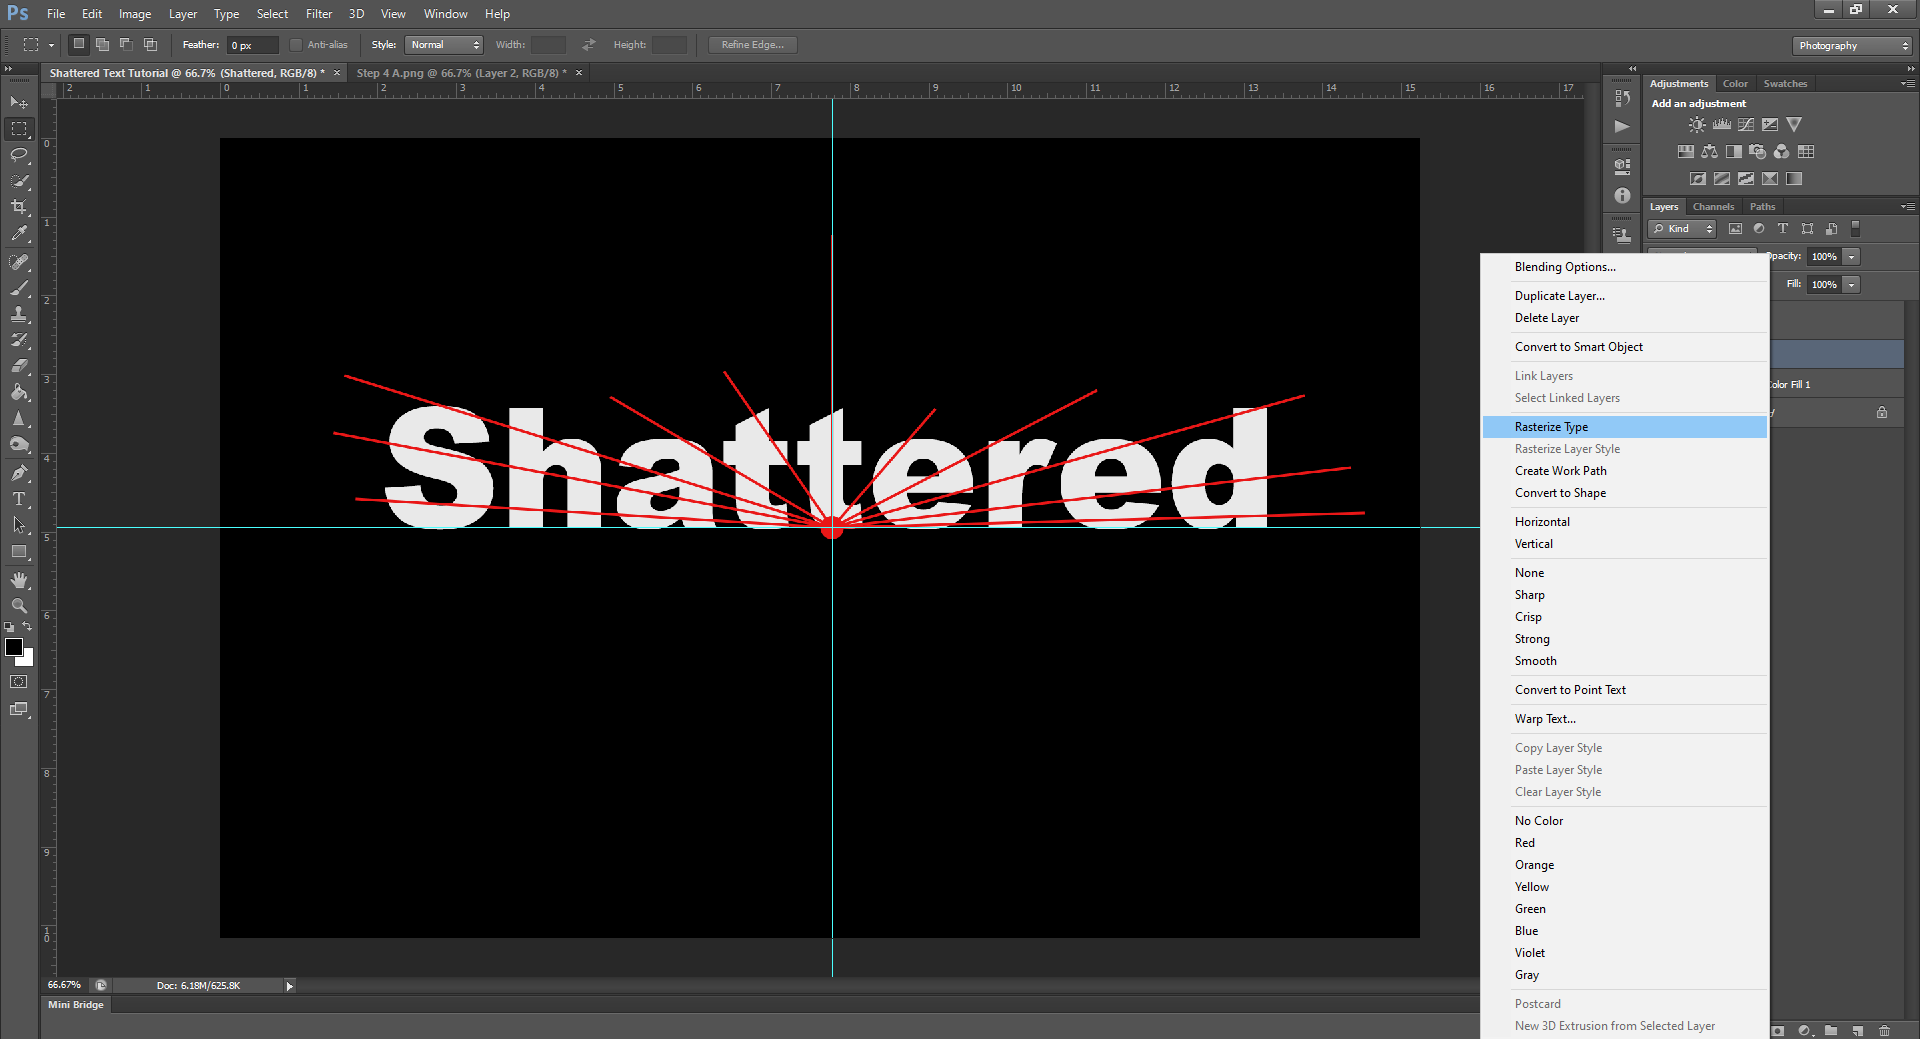
After this, using your Pen tool, begin to cut out the shapes of the shards following the guide you created. (Make sure you do this on the word layer, and not the guide layer) You can also lower the Opacity of your guide layer, so it’s less distracting.
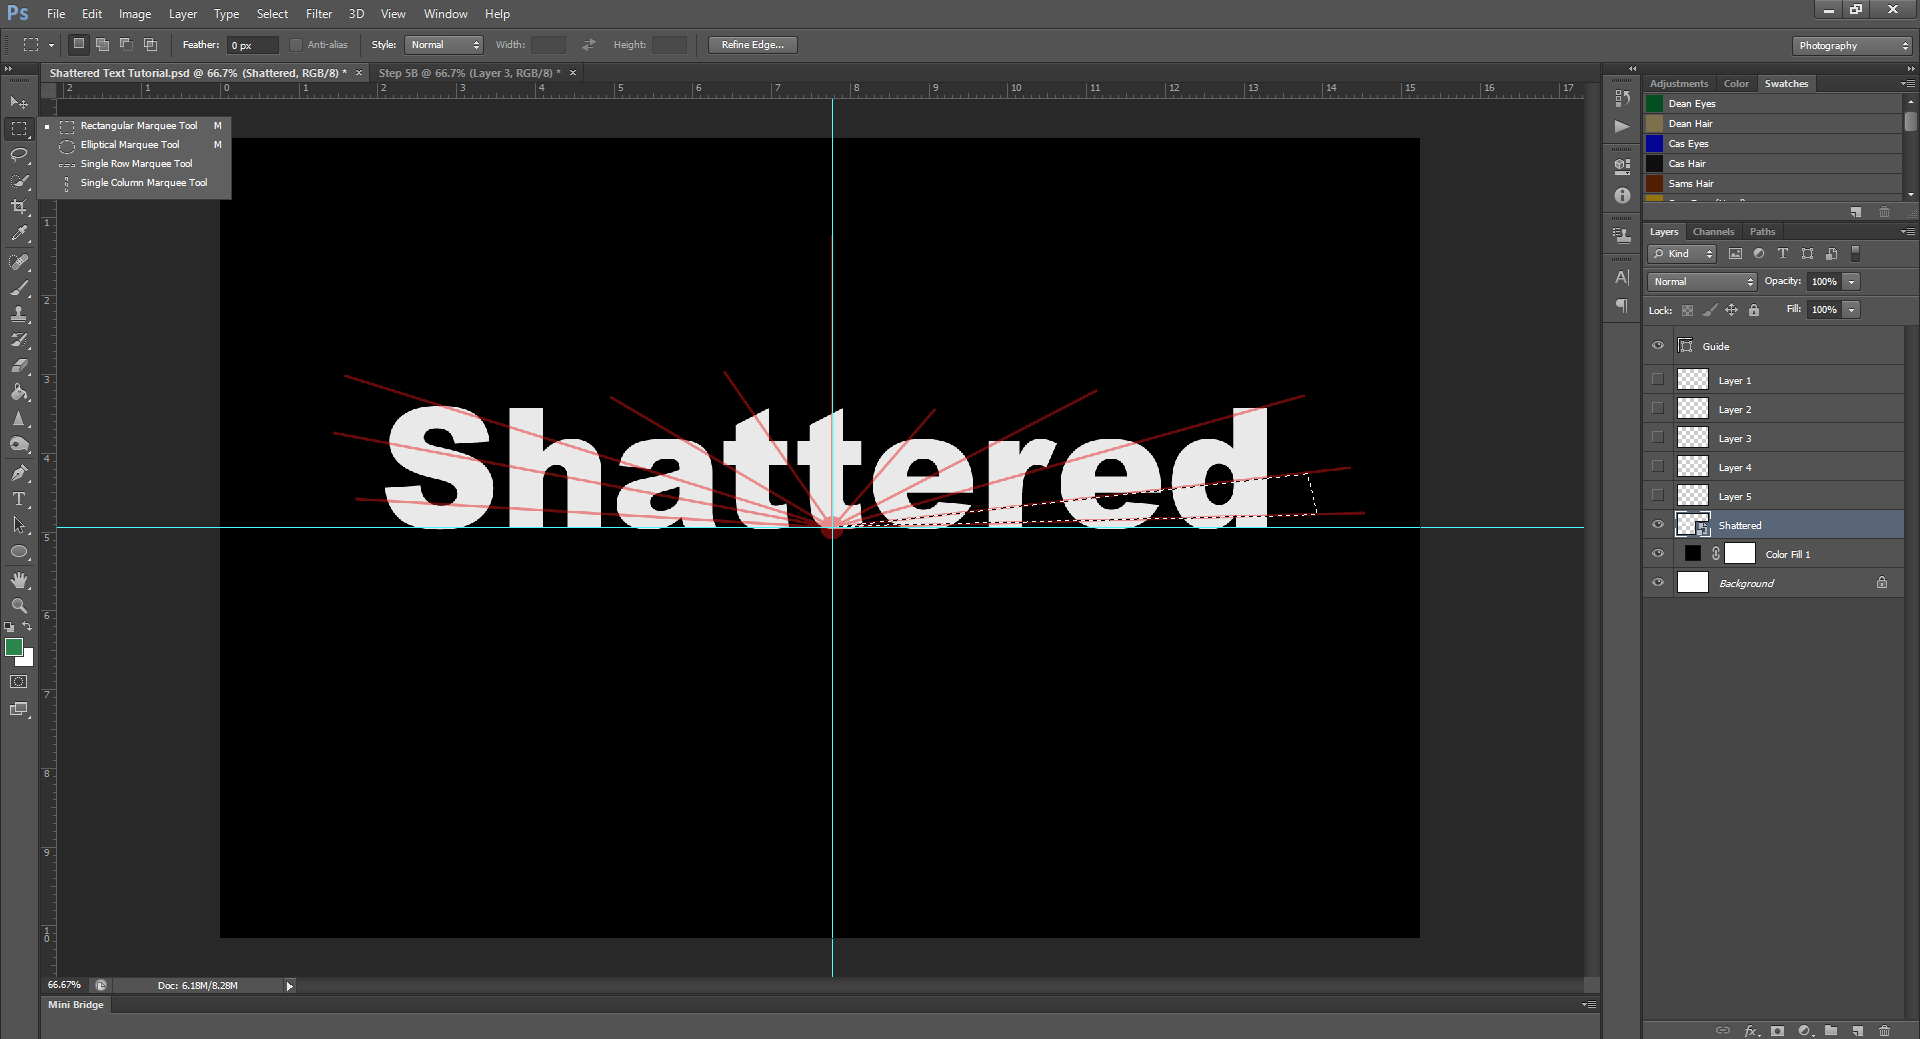
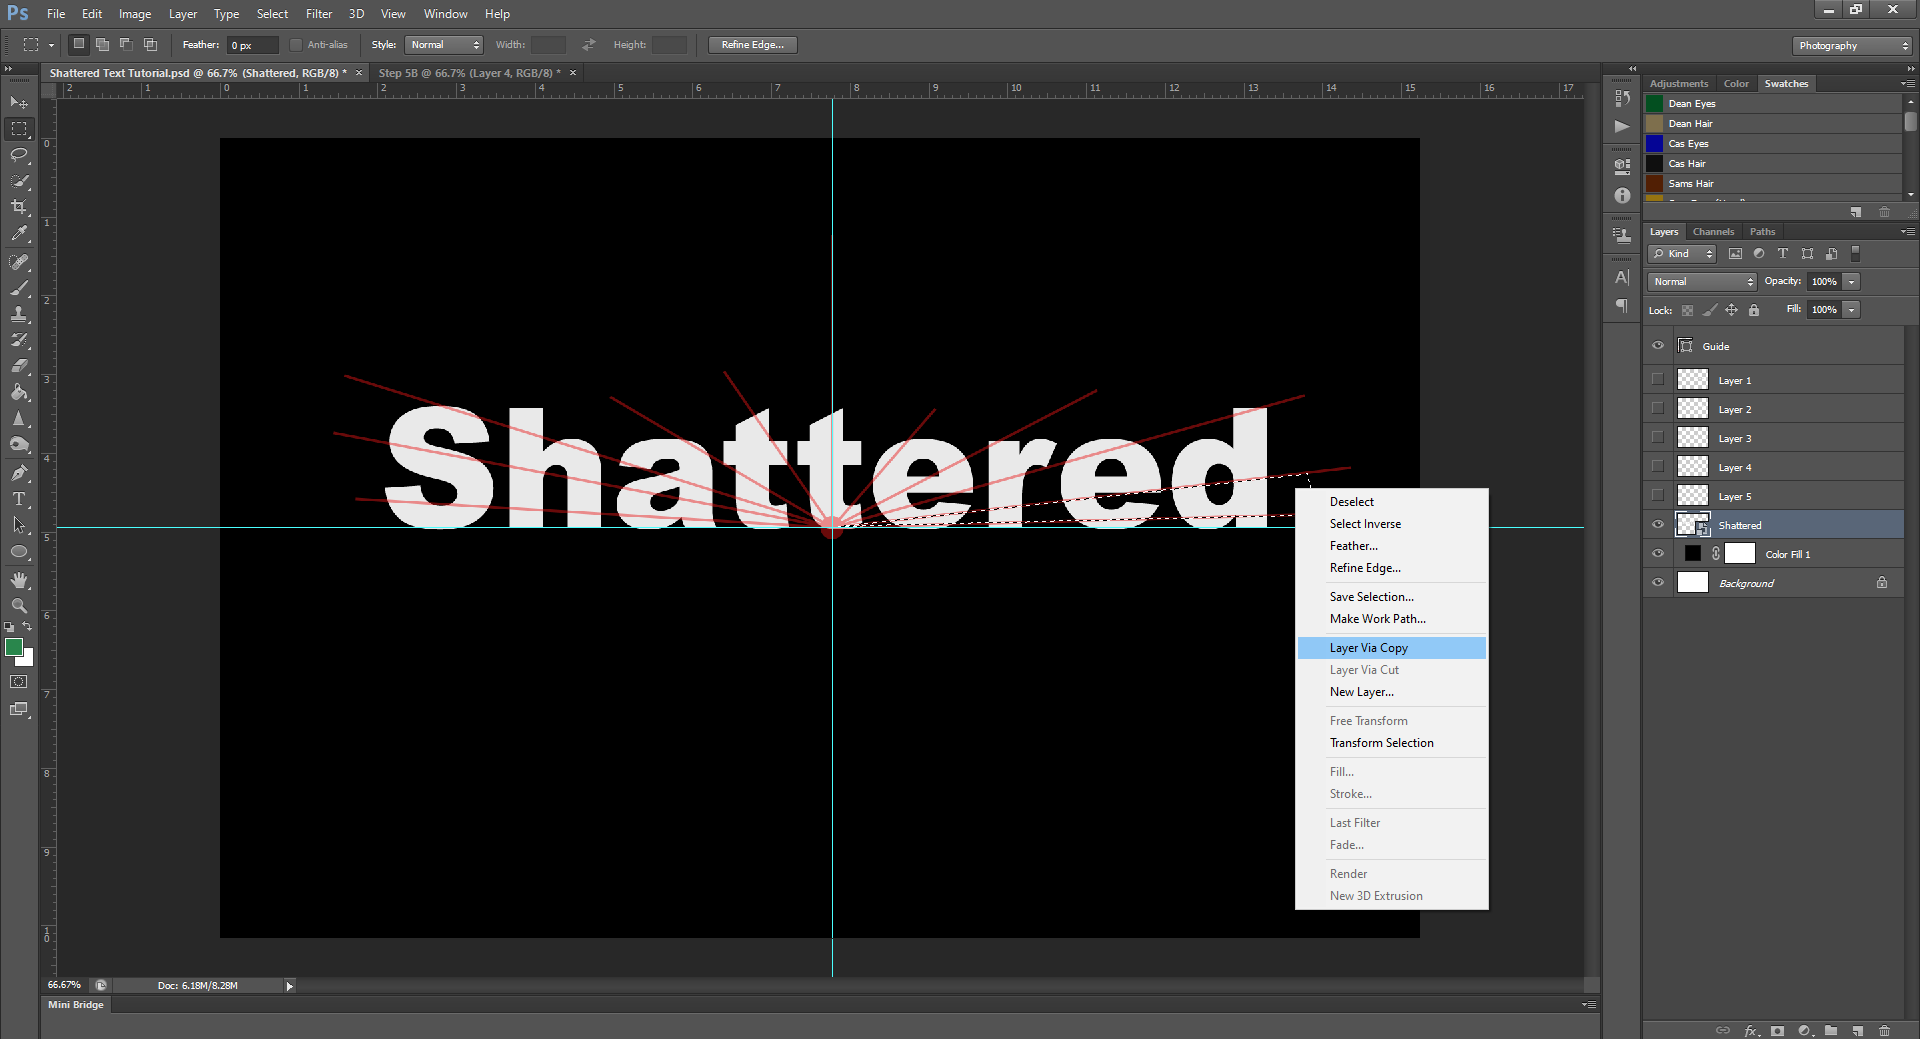
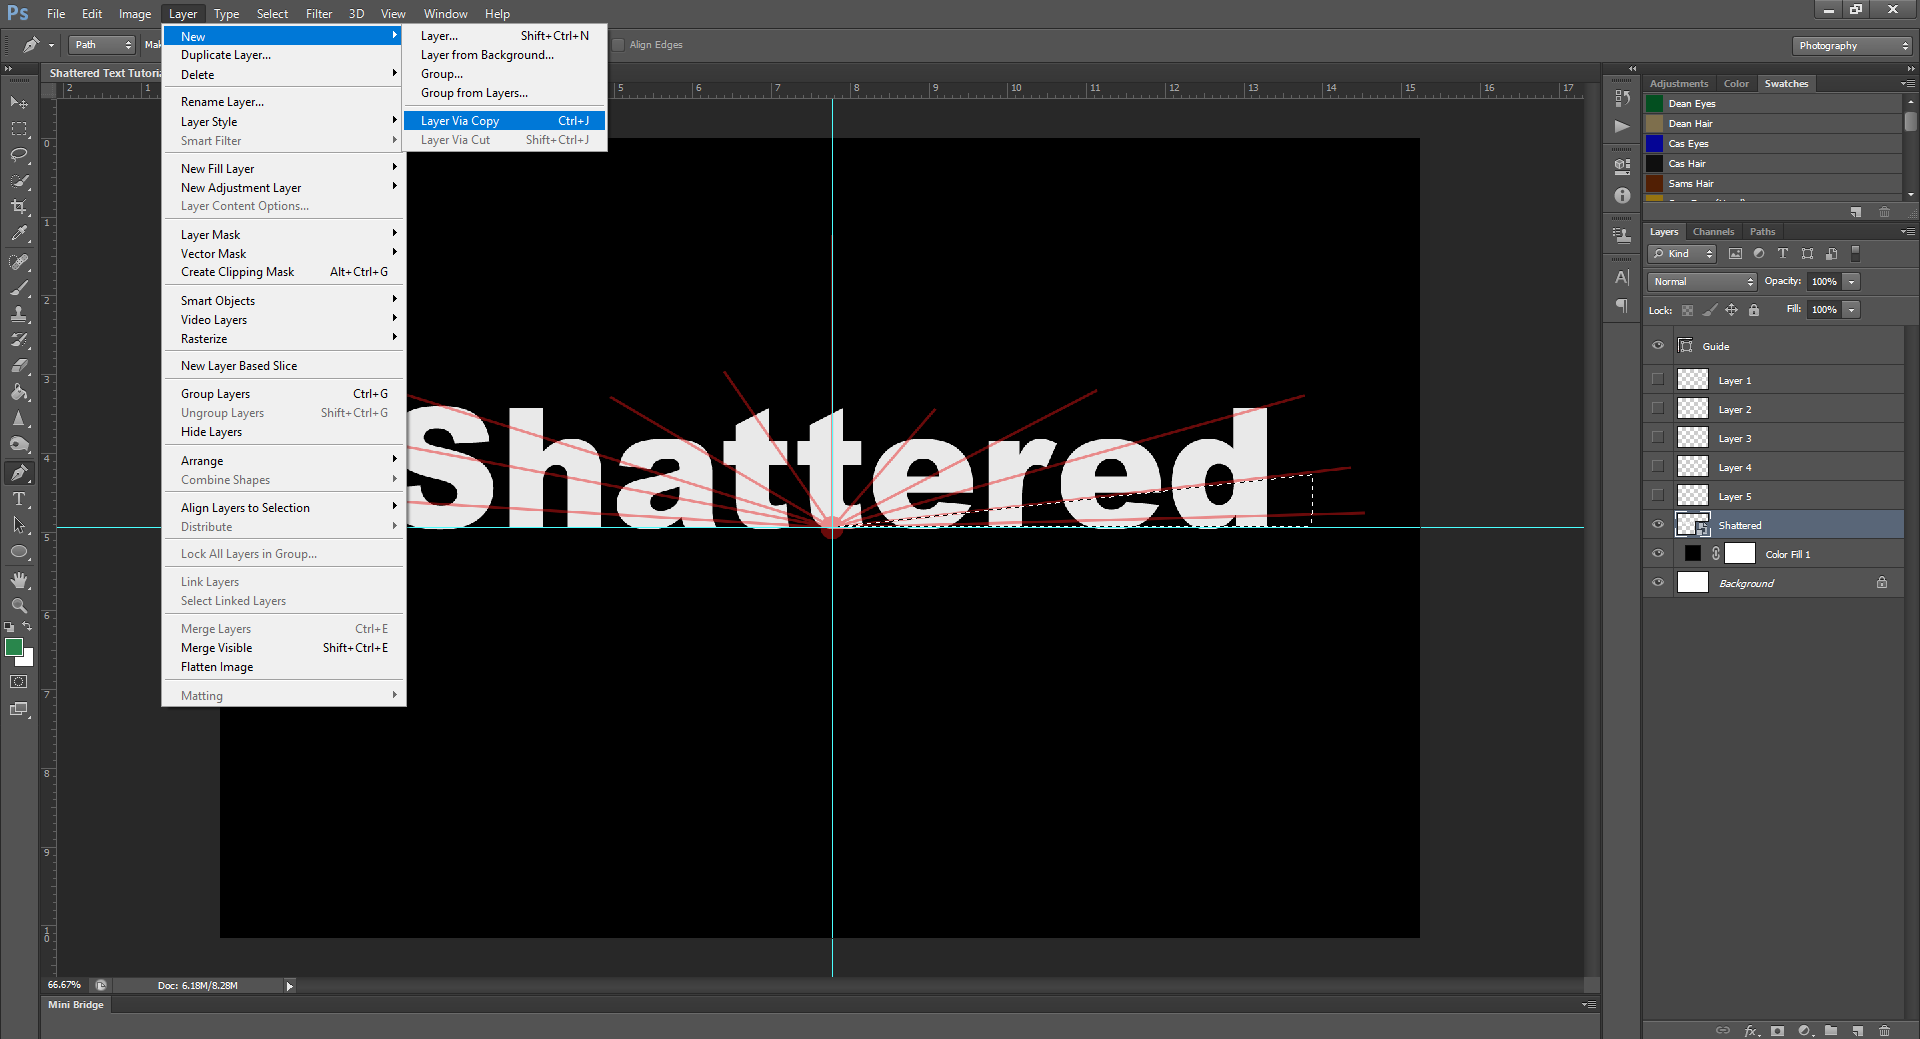
When using the Pen Tool, you’ll want to make points at the edges of the selection. Make triangles when clicking, then right-click and click ‘Make Selection’. Then, using the Rectangular Marquee Tool, right click on the selection again, and this time select Layer via Copy. (You can also do this by going up to the Layers tab in the top menu, and then going to New – Layer Via Copy)
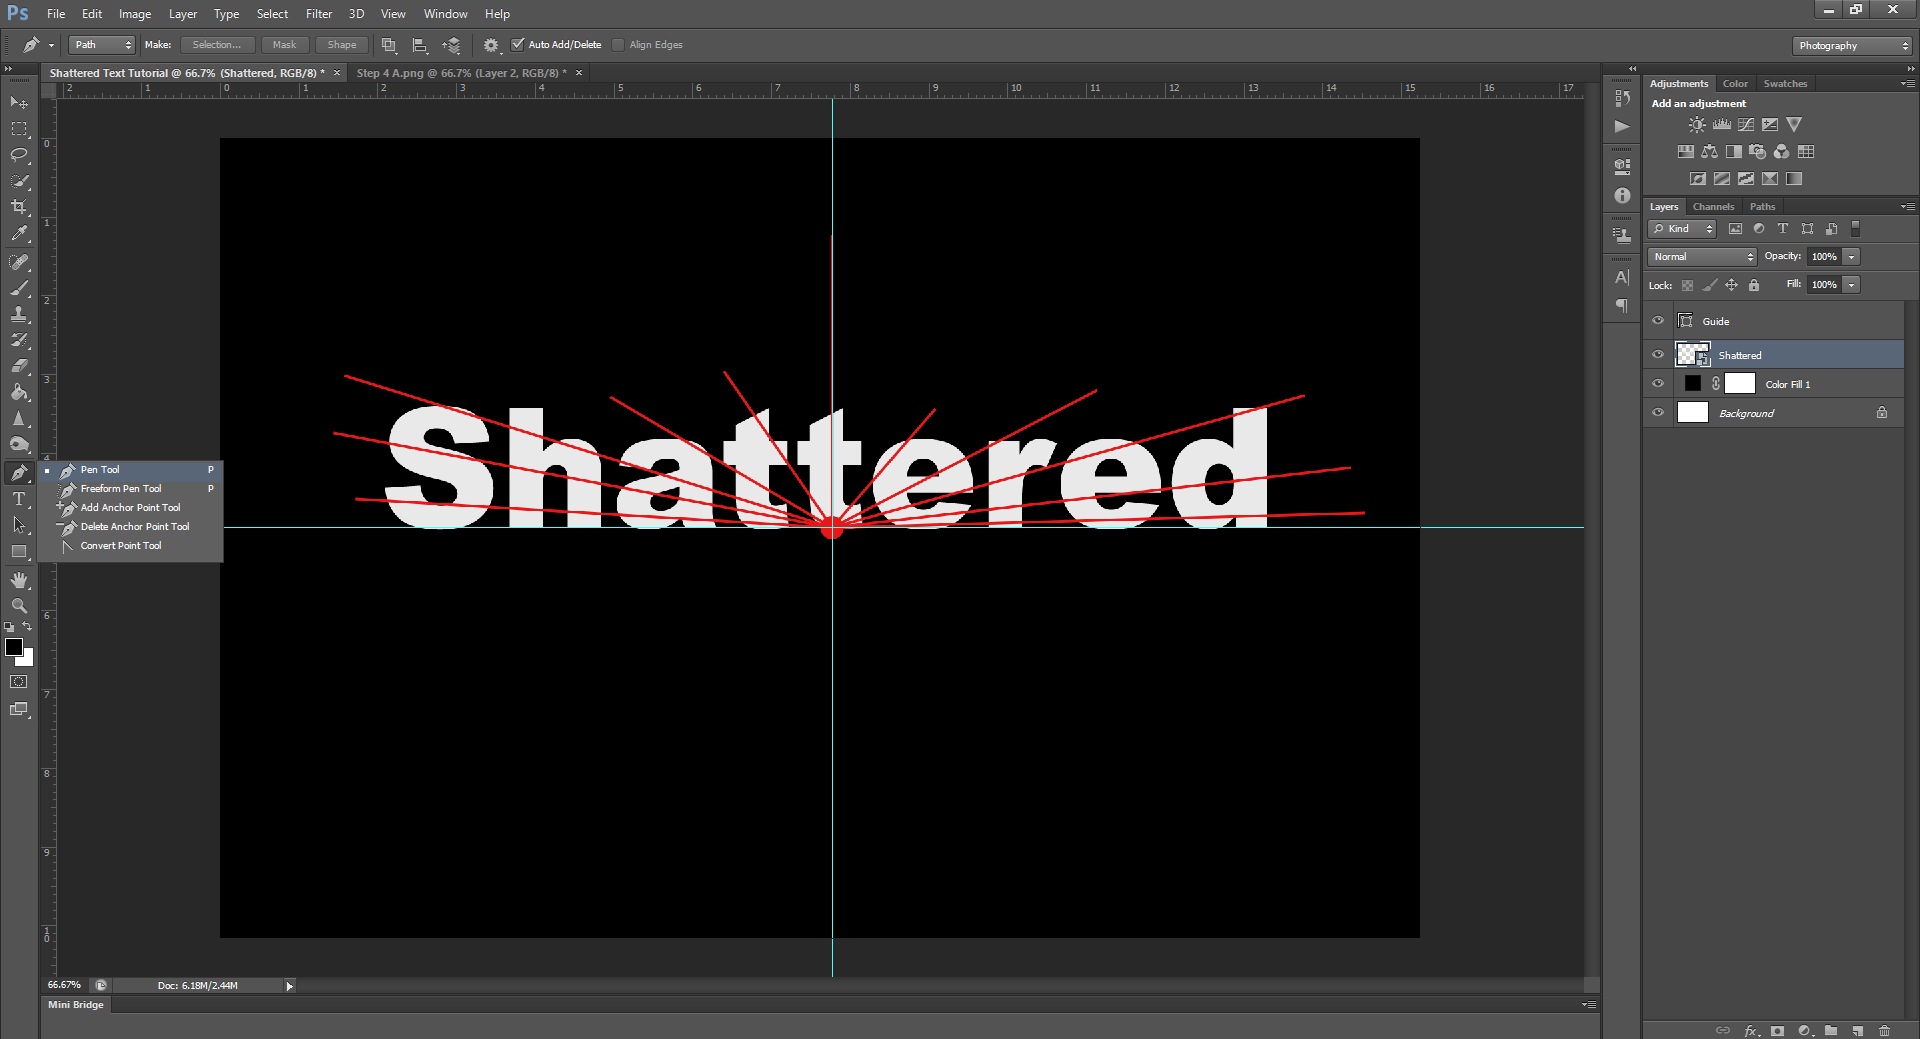

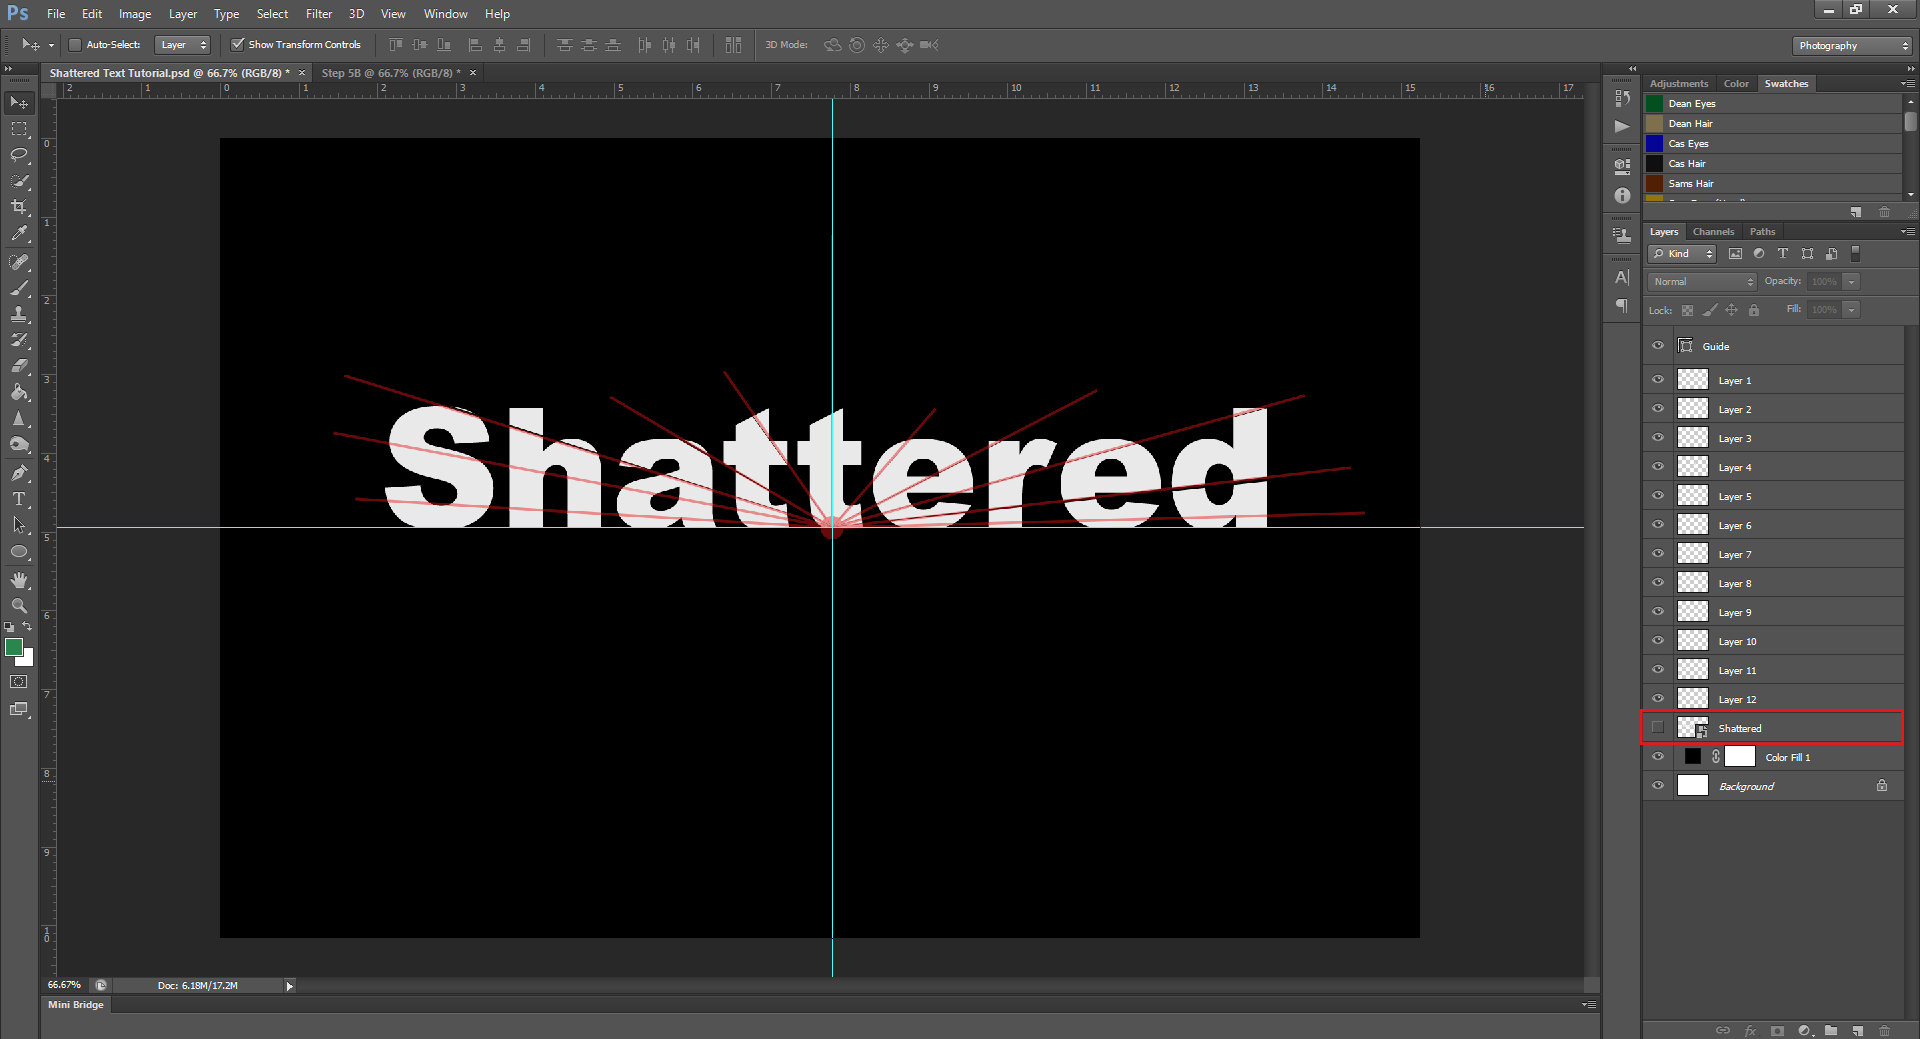
Repeat this until you have separate layers for each section made by the Guide.
Step 6.
Now that you have all the pieces you’ll need on separate layers, comes the fun part. Hide the original text layer, so just the pieces are left visible.
Now, starting with 1 of the sections, slightly move it so it’s not touching the rest of the pieces, this will make it look broken. You can also slightly turn the pieces as well, if needed.

Continue to do this for all the pieces, keeping in mind the circle from your guide is the central point, so all the pieces should look like they ‘broke’ from there. Also keep in mind, sometimes less is more, and the effect may look better without drastic changes, but this will depend on the look you’re going for.
Also, once you’ve moved all the pieces, hide your Guide layer, so you can see what it looks like.

Now all the pieces are where you want them, you can go ahead and save yourself the PHSH file. (Which I always recommend, but especially recommend for effects that take multiple layers!) Once you have an editable PHSH file saved, you can go ahead and delete your Guide and intact Shattered layer, and then you can flatten and save as a PNG or JPEG file.
And there you have it! Another effect is done!
This looks pretty great on it’s own, but, if you want to really give it some oomph, arrange your text on an image of broken glass pieces. If needed, (depending on your background), you can also Bevel and Emboss the text pieces so they appear to be raised, and, you can also add an Inner Shadow as well. (Both of these are techniques I’ll be showing in later tutorials.)
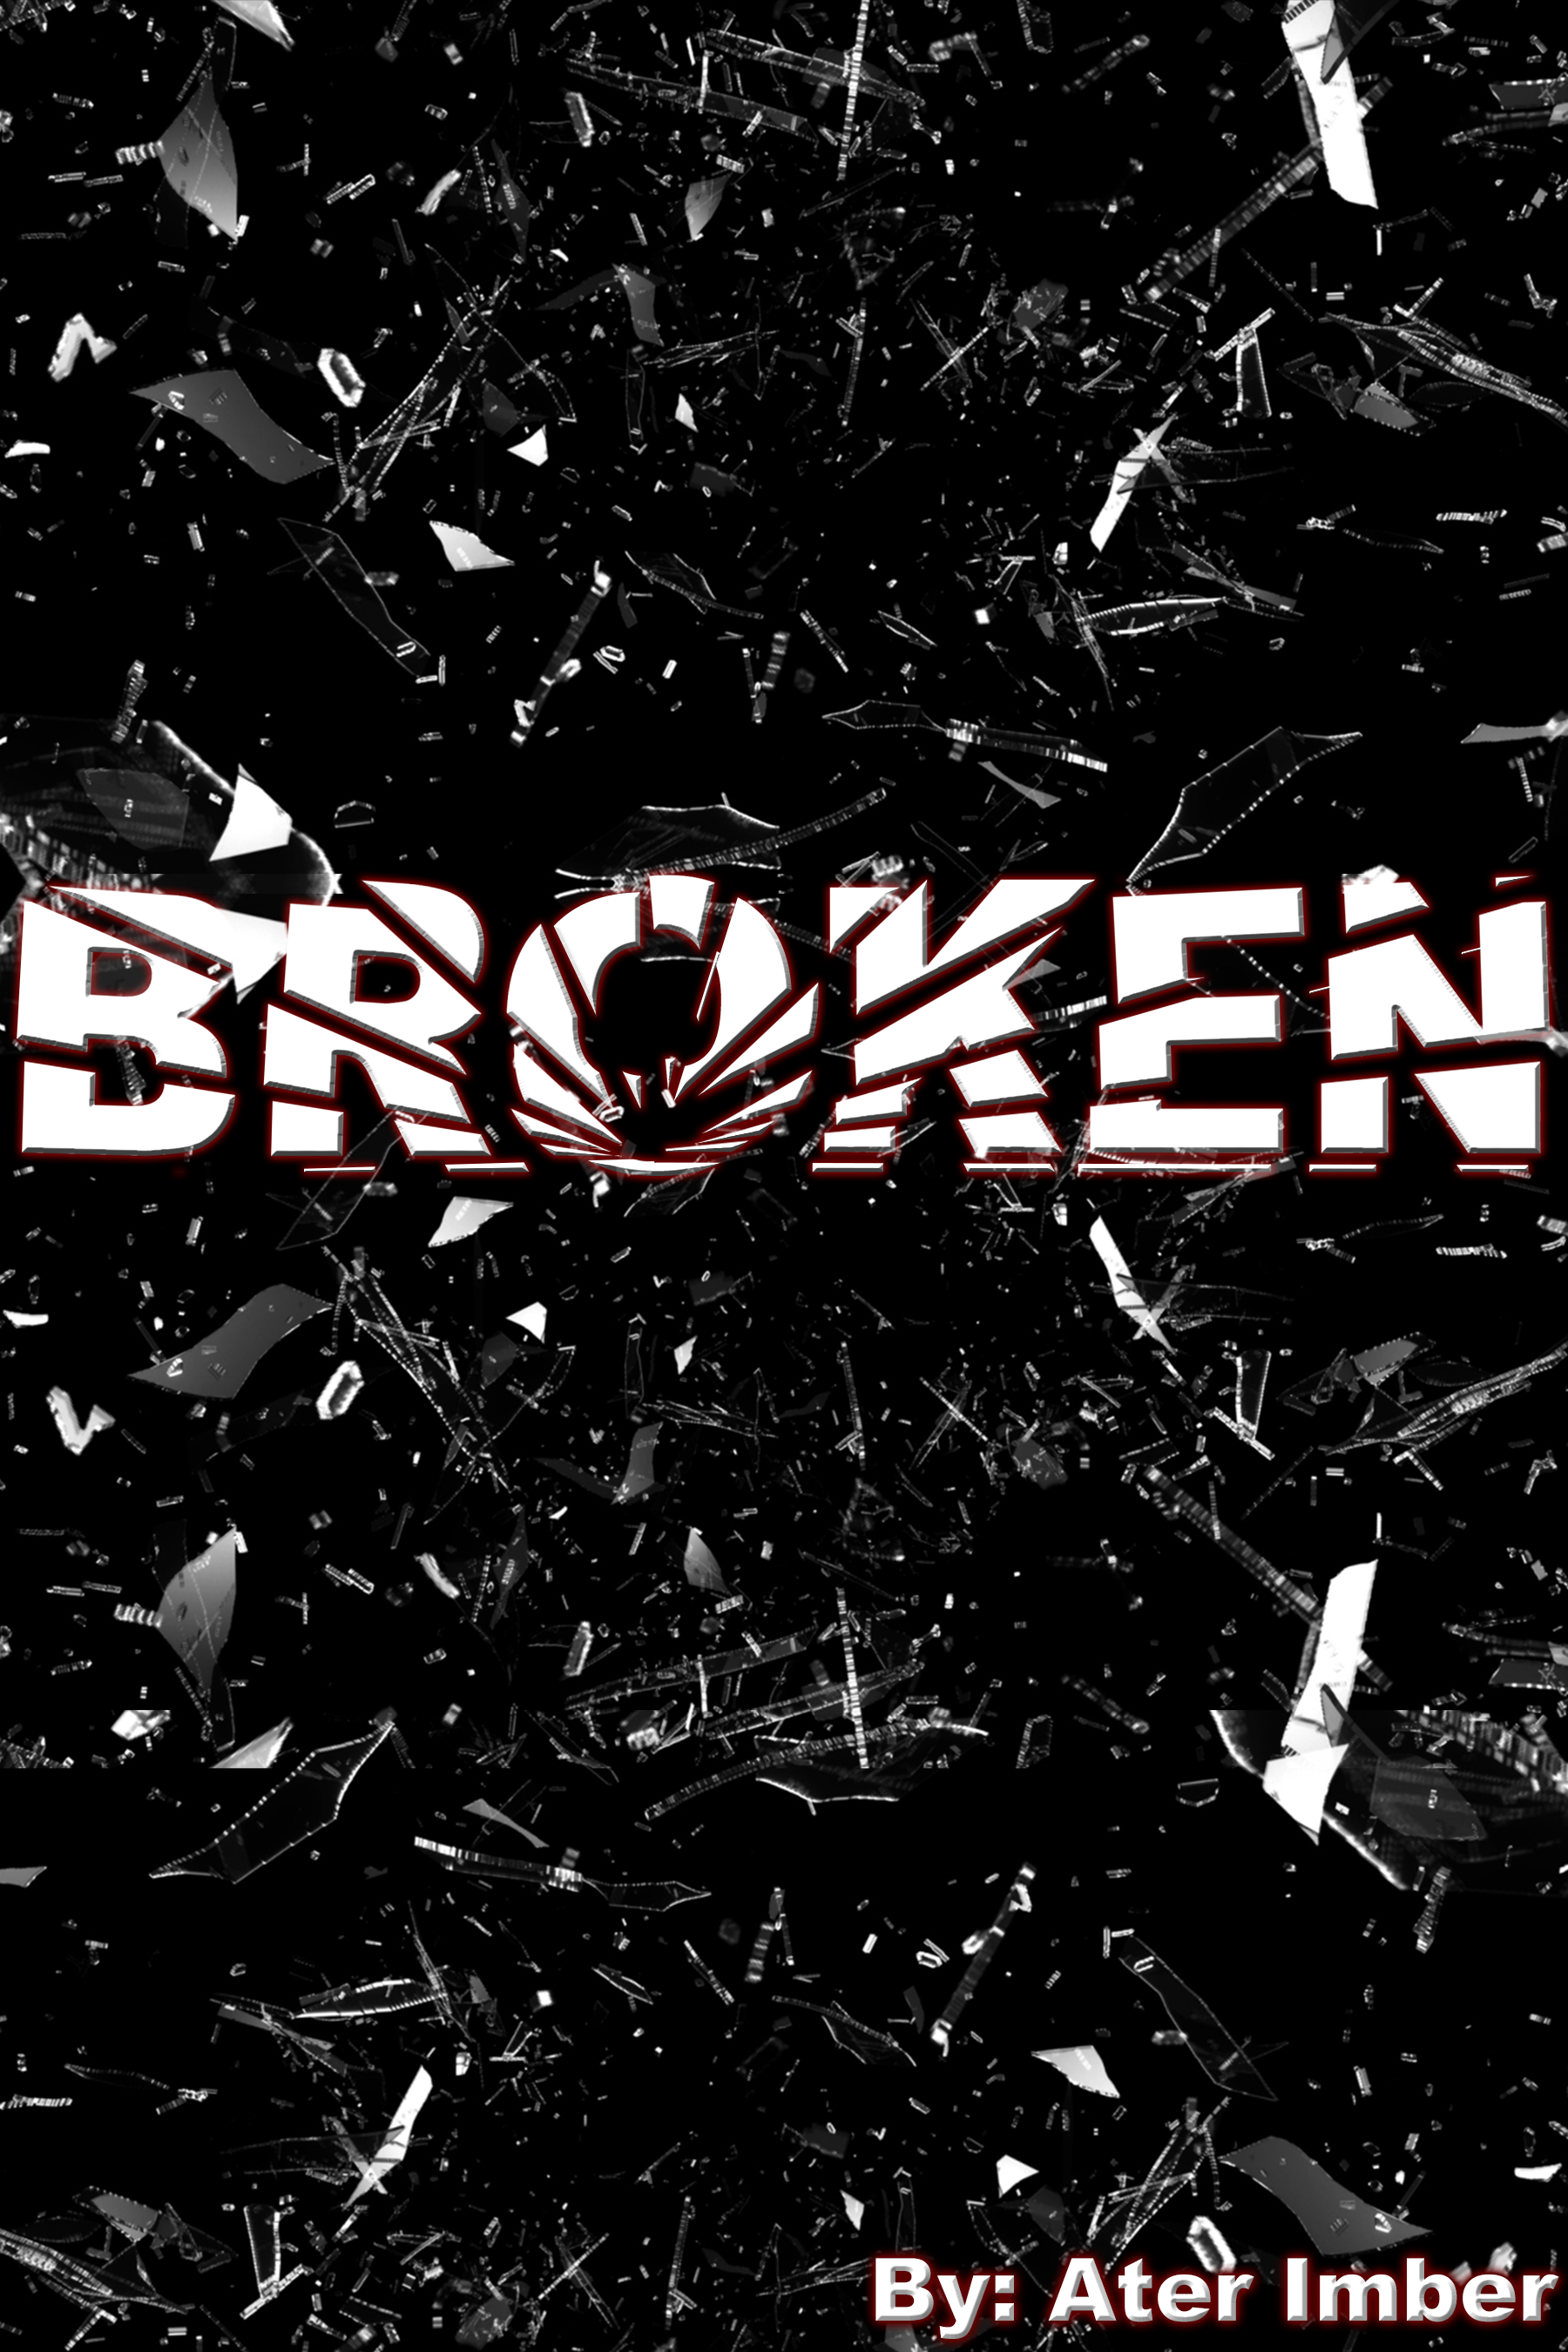
Adding these extra steps are totally not needed, but can add a little extra ‘wow’ factor to your cover, depending on the look you’re going for. And, like most of the other effects I’ve shown you, this Shattered text technique works in a LOT of different contexts.
This is the same technique I used on the Broken cover, to make the title look like it was written across the mirror. It’s less shattered than what I did in the glass shards picture, but still works.

Play around with the fracturing to see what works for you.
Like I said at the beginning of the tutorial, this is the last one for this year, but I’ll be back some time next year with a brand new set of effects! So go ahead and practice, because while I don’t know exactly what I’ll show you, I do know the effects/techniques are just gonna keep getting harder from here. So make sure you take the time to master the early ones!
Like this tutorial? Check out the rest of the series here!
Liking the site? Consider signing up for my Patreon, so I can continue bringing you the content you love!