
![]()
Spot Brightening is a very important skill to have. Sometimes – for whatever reason – an image will come out with a dark spot, or will have weird lighting. Spot-treating images can be an immensely helpful tool in your PHSH arsenal, especially with summer right around the corner, you know you always get that one Beach Day pic where there’s too many shadows.
And, like most of the other effects I’ve shown you, it’s secretly really easy once you know what to do.
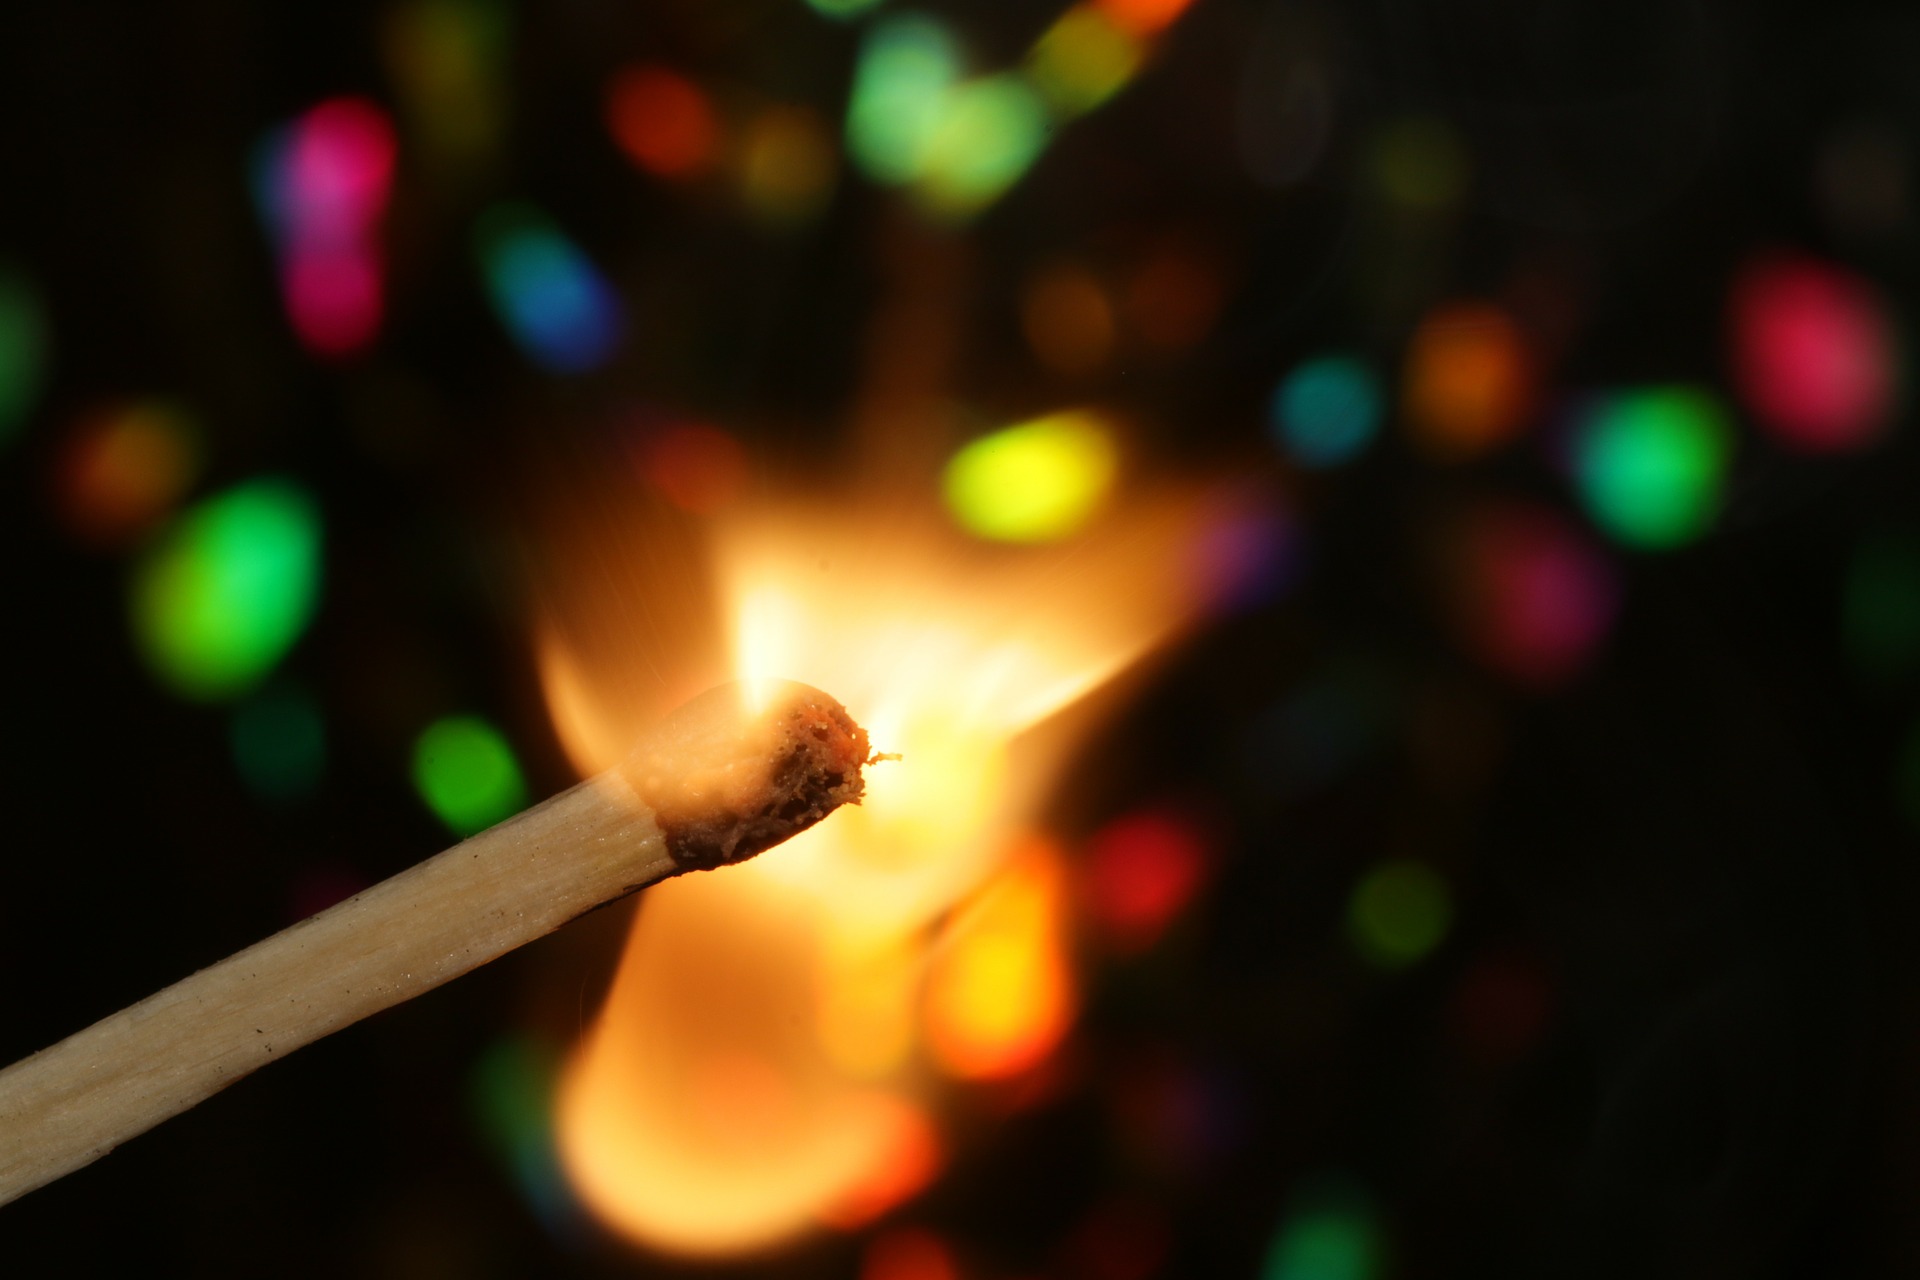
I’m going to use the teaser image from last month, even though most of it is dark already. I think keeping the images consistent is helpful when needing to look back at the effects while you practice them. So, for simplicity sake, we’ll be using the Match image:
Step 1: Start a new Work File/Document/Whatever-You-Want-to-Call-It in PHSH and drag/drop the image into it. Don’t forget to resize so it fits into your work space.
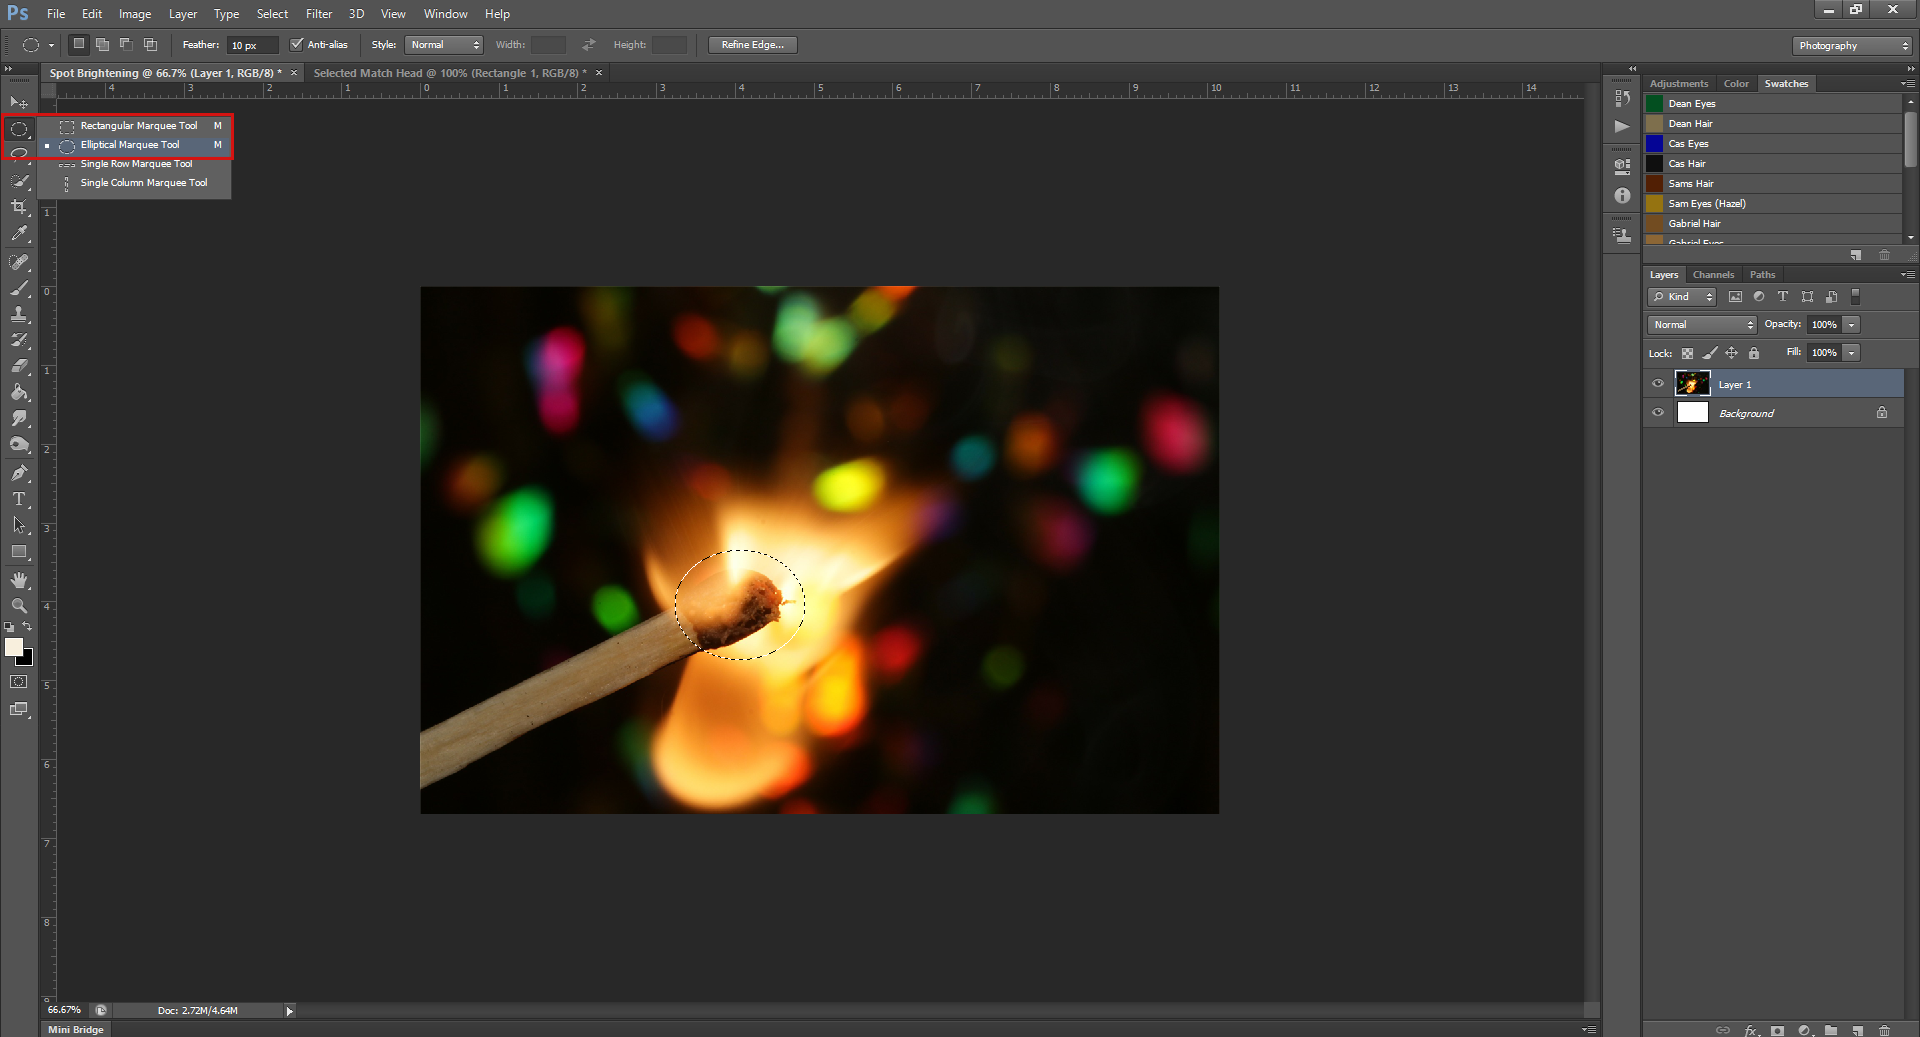
Step 2. Using the Elliptical Selection Tool, select the head of the match, and a bit of the flame.
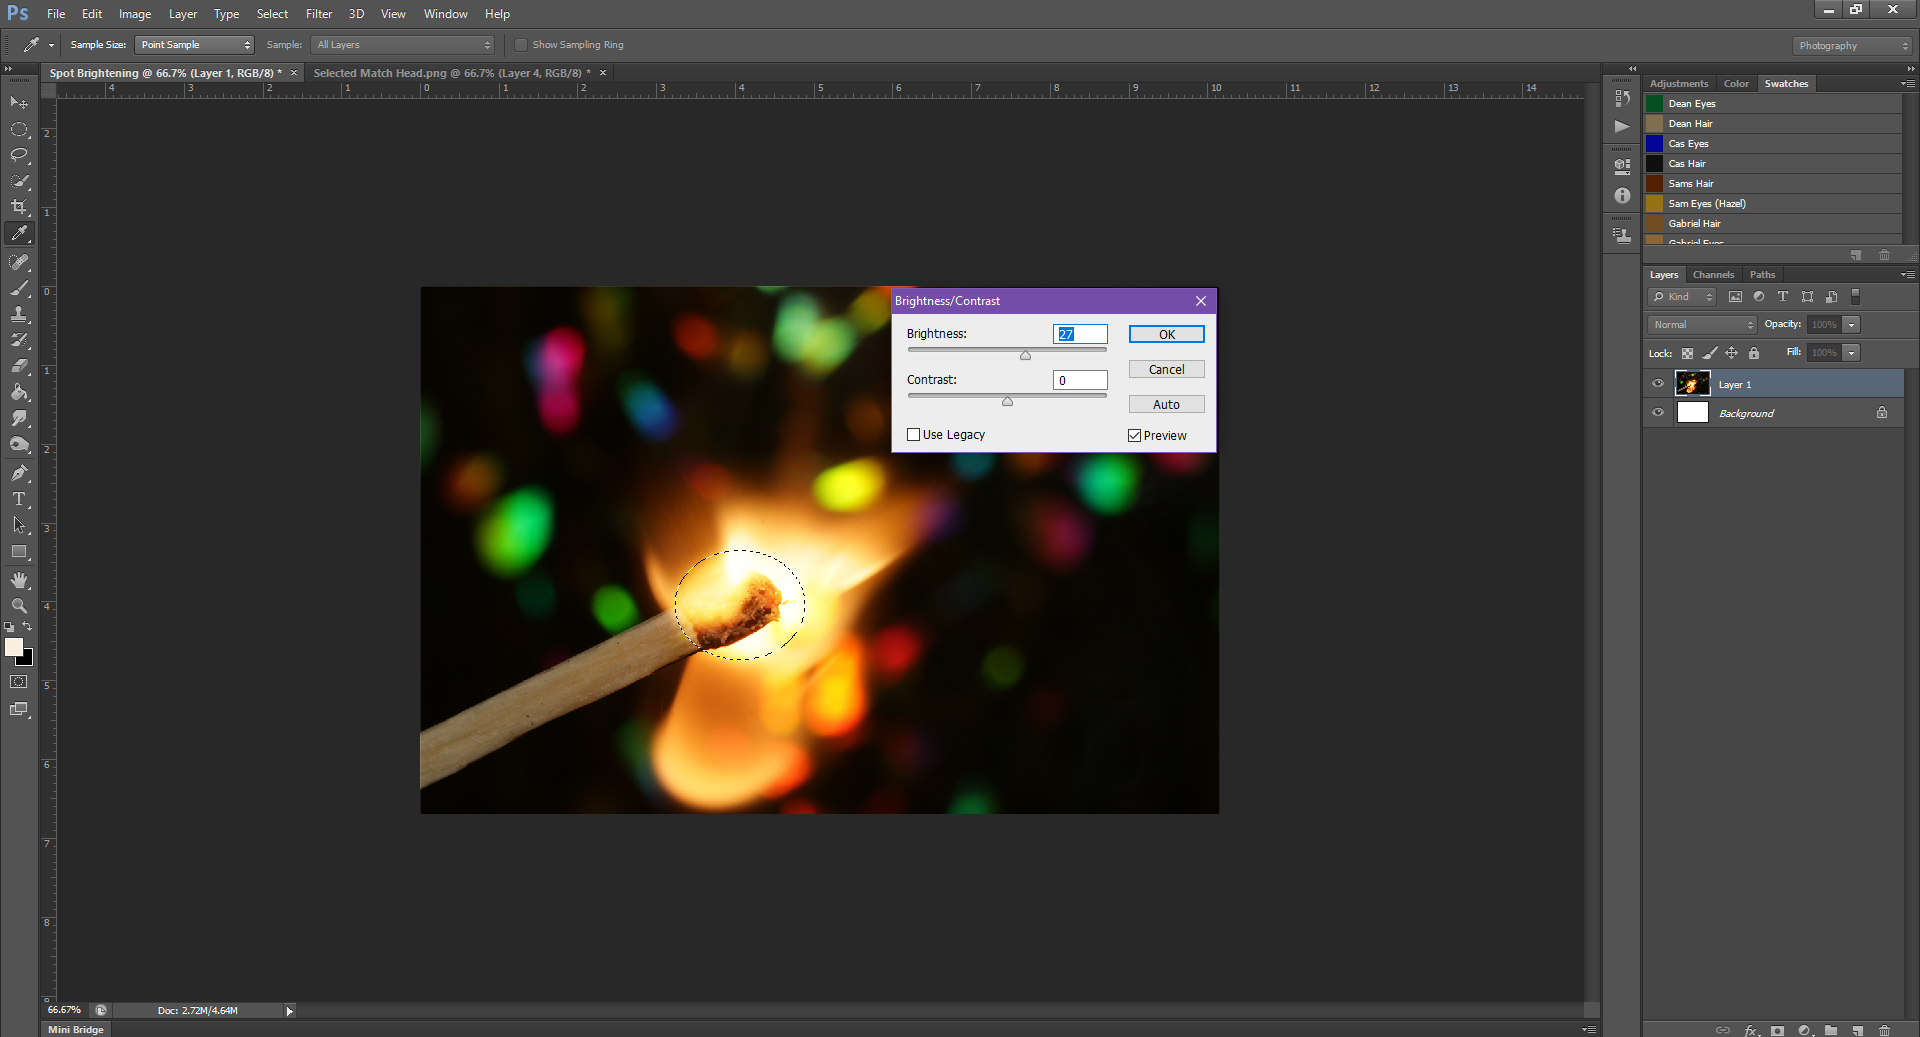
Step 3. With the head still selected, go up to Image – Adjustments – Brightness/Contrast

Step 4. In the Brightness/Contrast box, slide the Brightness slider toward the right to brighten the selection. Sliding it in the opposite direction will make the selection darker.

Step 4. Once you’re happy with the Brightness, click Okay to make the transformation stick to the picture – or, if you are in the Brightness/Contrast by accident, you can always Cancel to undo the change. (One of the great things PHSH has for most of the effects is the Live Preview, so while you’re playing with Brightness/Contrast, colours, etc. you can actively see what you’re changing on the image)
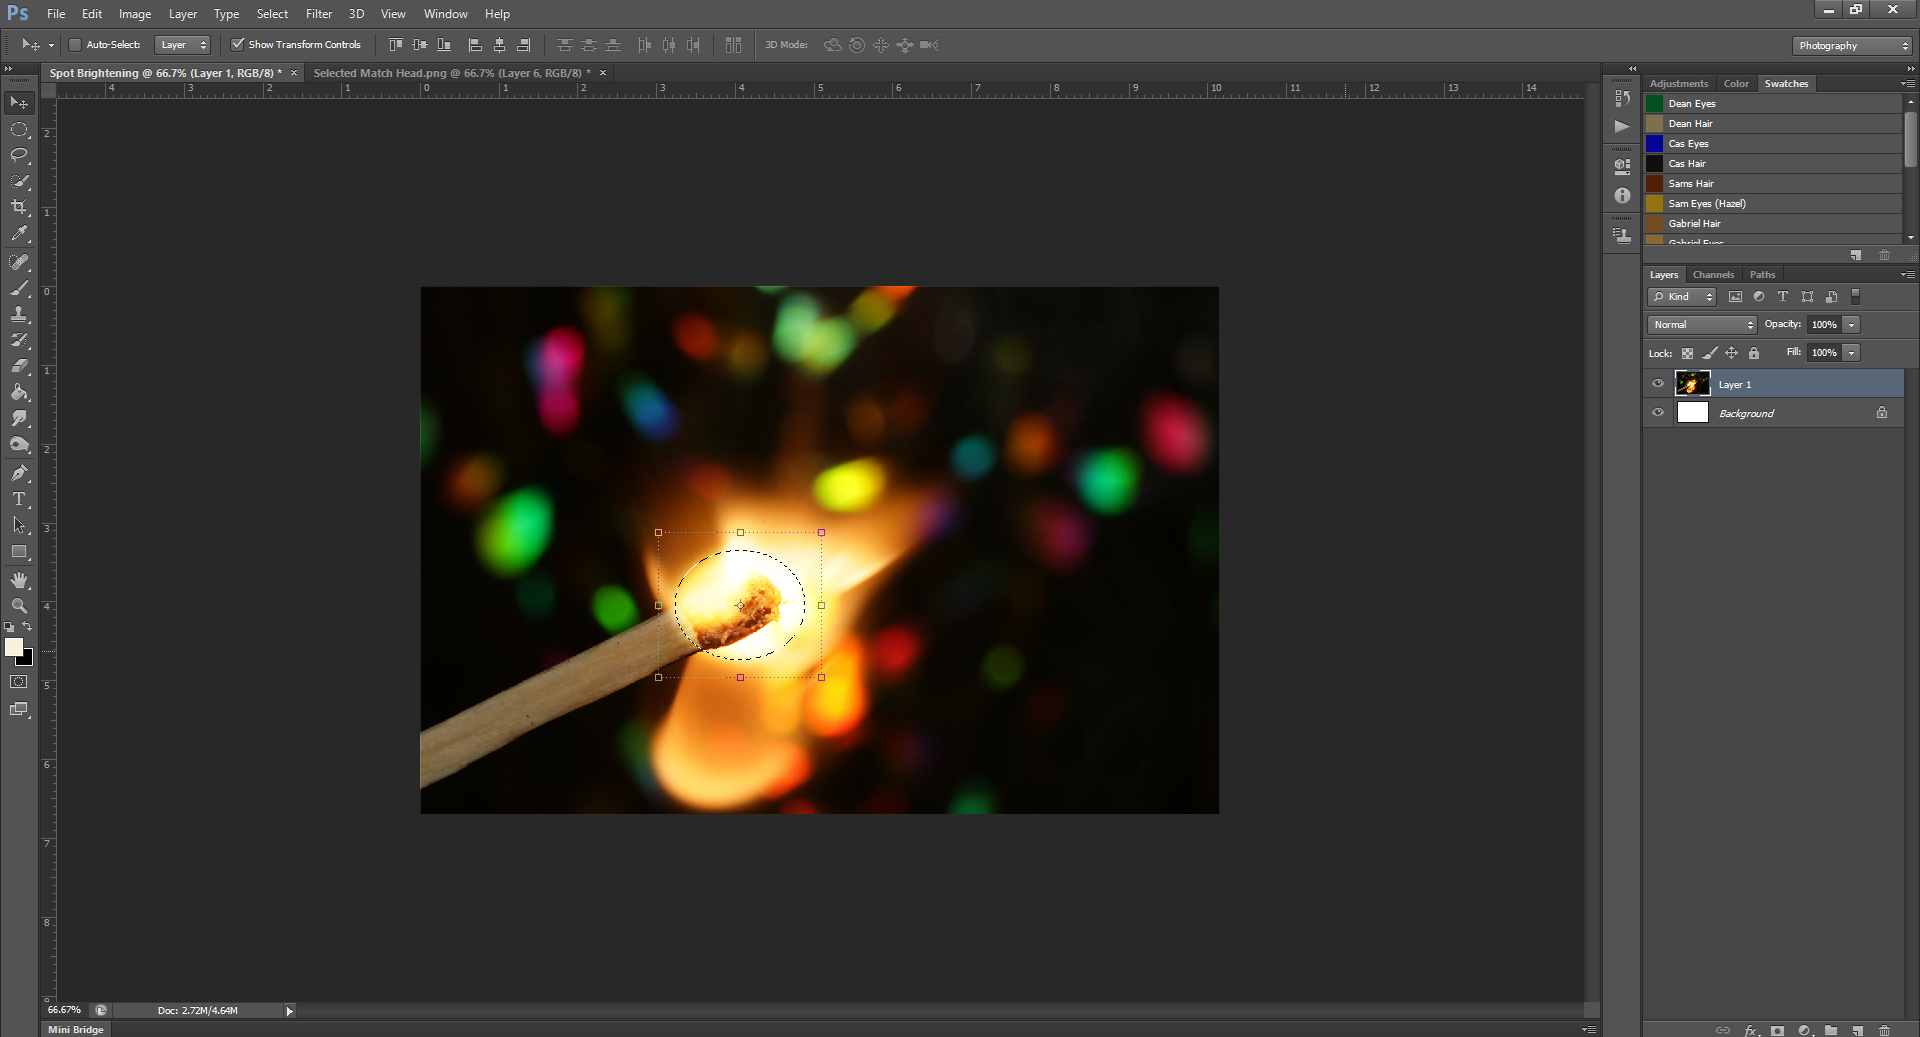
If, for instance, you need to make the selected area brighter than the slider will let you, you can hit ‘Okay’, stay on the selected area and then re-brighten it to whatever you need.
For instance, I brightened the picture at first to +64:

But if I needed it brighter, I could go back in and:
And so on, and so forth, until my hearts’ content:


You could basically do this until there is just a white hole in the middle of the picture.
Yep, that’s literally all there is to it.
I mean, there is another way you could do this – but that involves a hell of a lot more steps and Layer Masks – it just gets waaay too complicated. Which, truthfully, was the way I learned how to do it first before figuring out this easy way, and since these tutorials are here to make your lives easier, I’ll just refrain from sharing that overly-long pain-in-the-ass way.
Thank me later!
Aaand I don’t want you to get disappointed or anything, but this will be the last PHSH tutorial until October. Since I’ve started No. Mad. I’ll be focusing more on that for the next few months. Think of this time off as extra time for you to practice all the effects you’ve learned thus far.
Like the tutorial? Check out the rest of the series here!
Liking the site? Consider signing up for my Patreon, so I can continue bringing you the content you love!